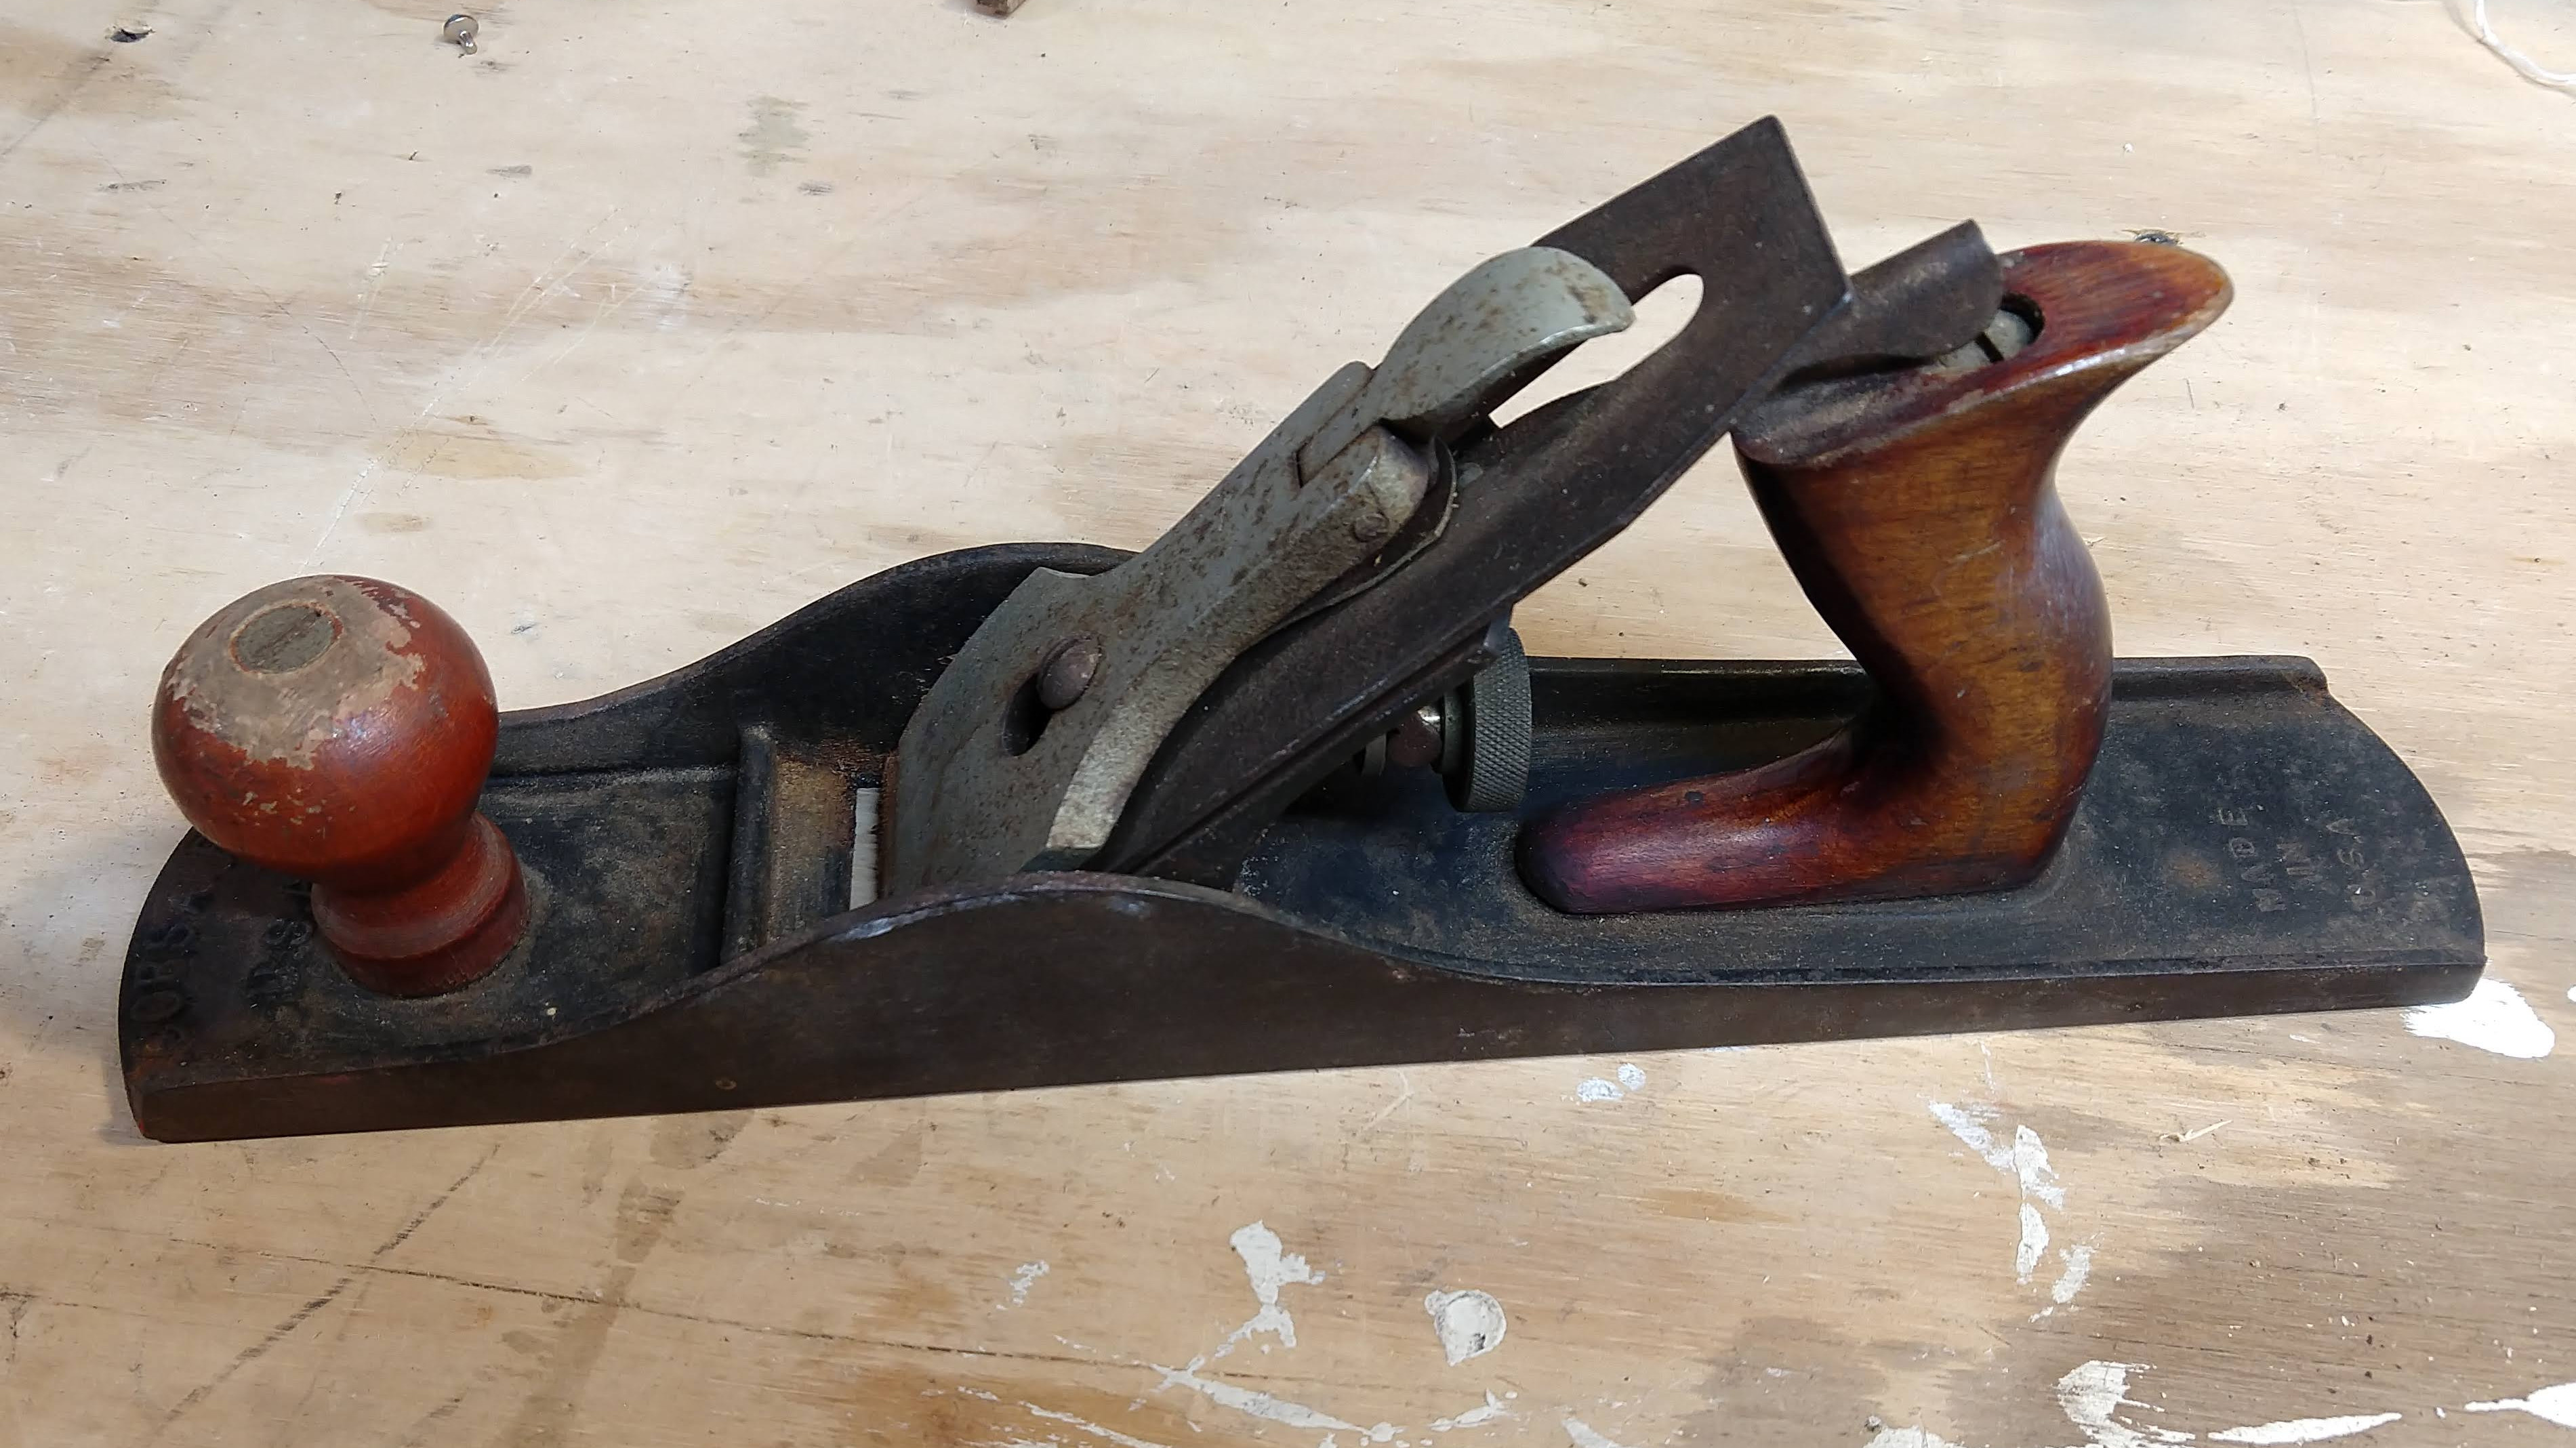
It’s a bird! It’s a plane! It’s…
I should cancel the order of aluminum sheets?
Ok.
Don’t look at me like that; I’m disappointed too. I suppose I shouldn’t be surprised, you don’t find too many airplanes for $10. I mean, it says “Corsair” on it and everything, you Google “corsair plane” and see what you get. Do it. I’ll wait. See‽
Now you know why I’m disappointed.
It’s pretty rusty, and kinda gross.
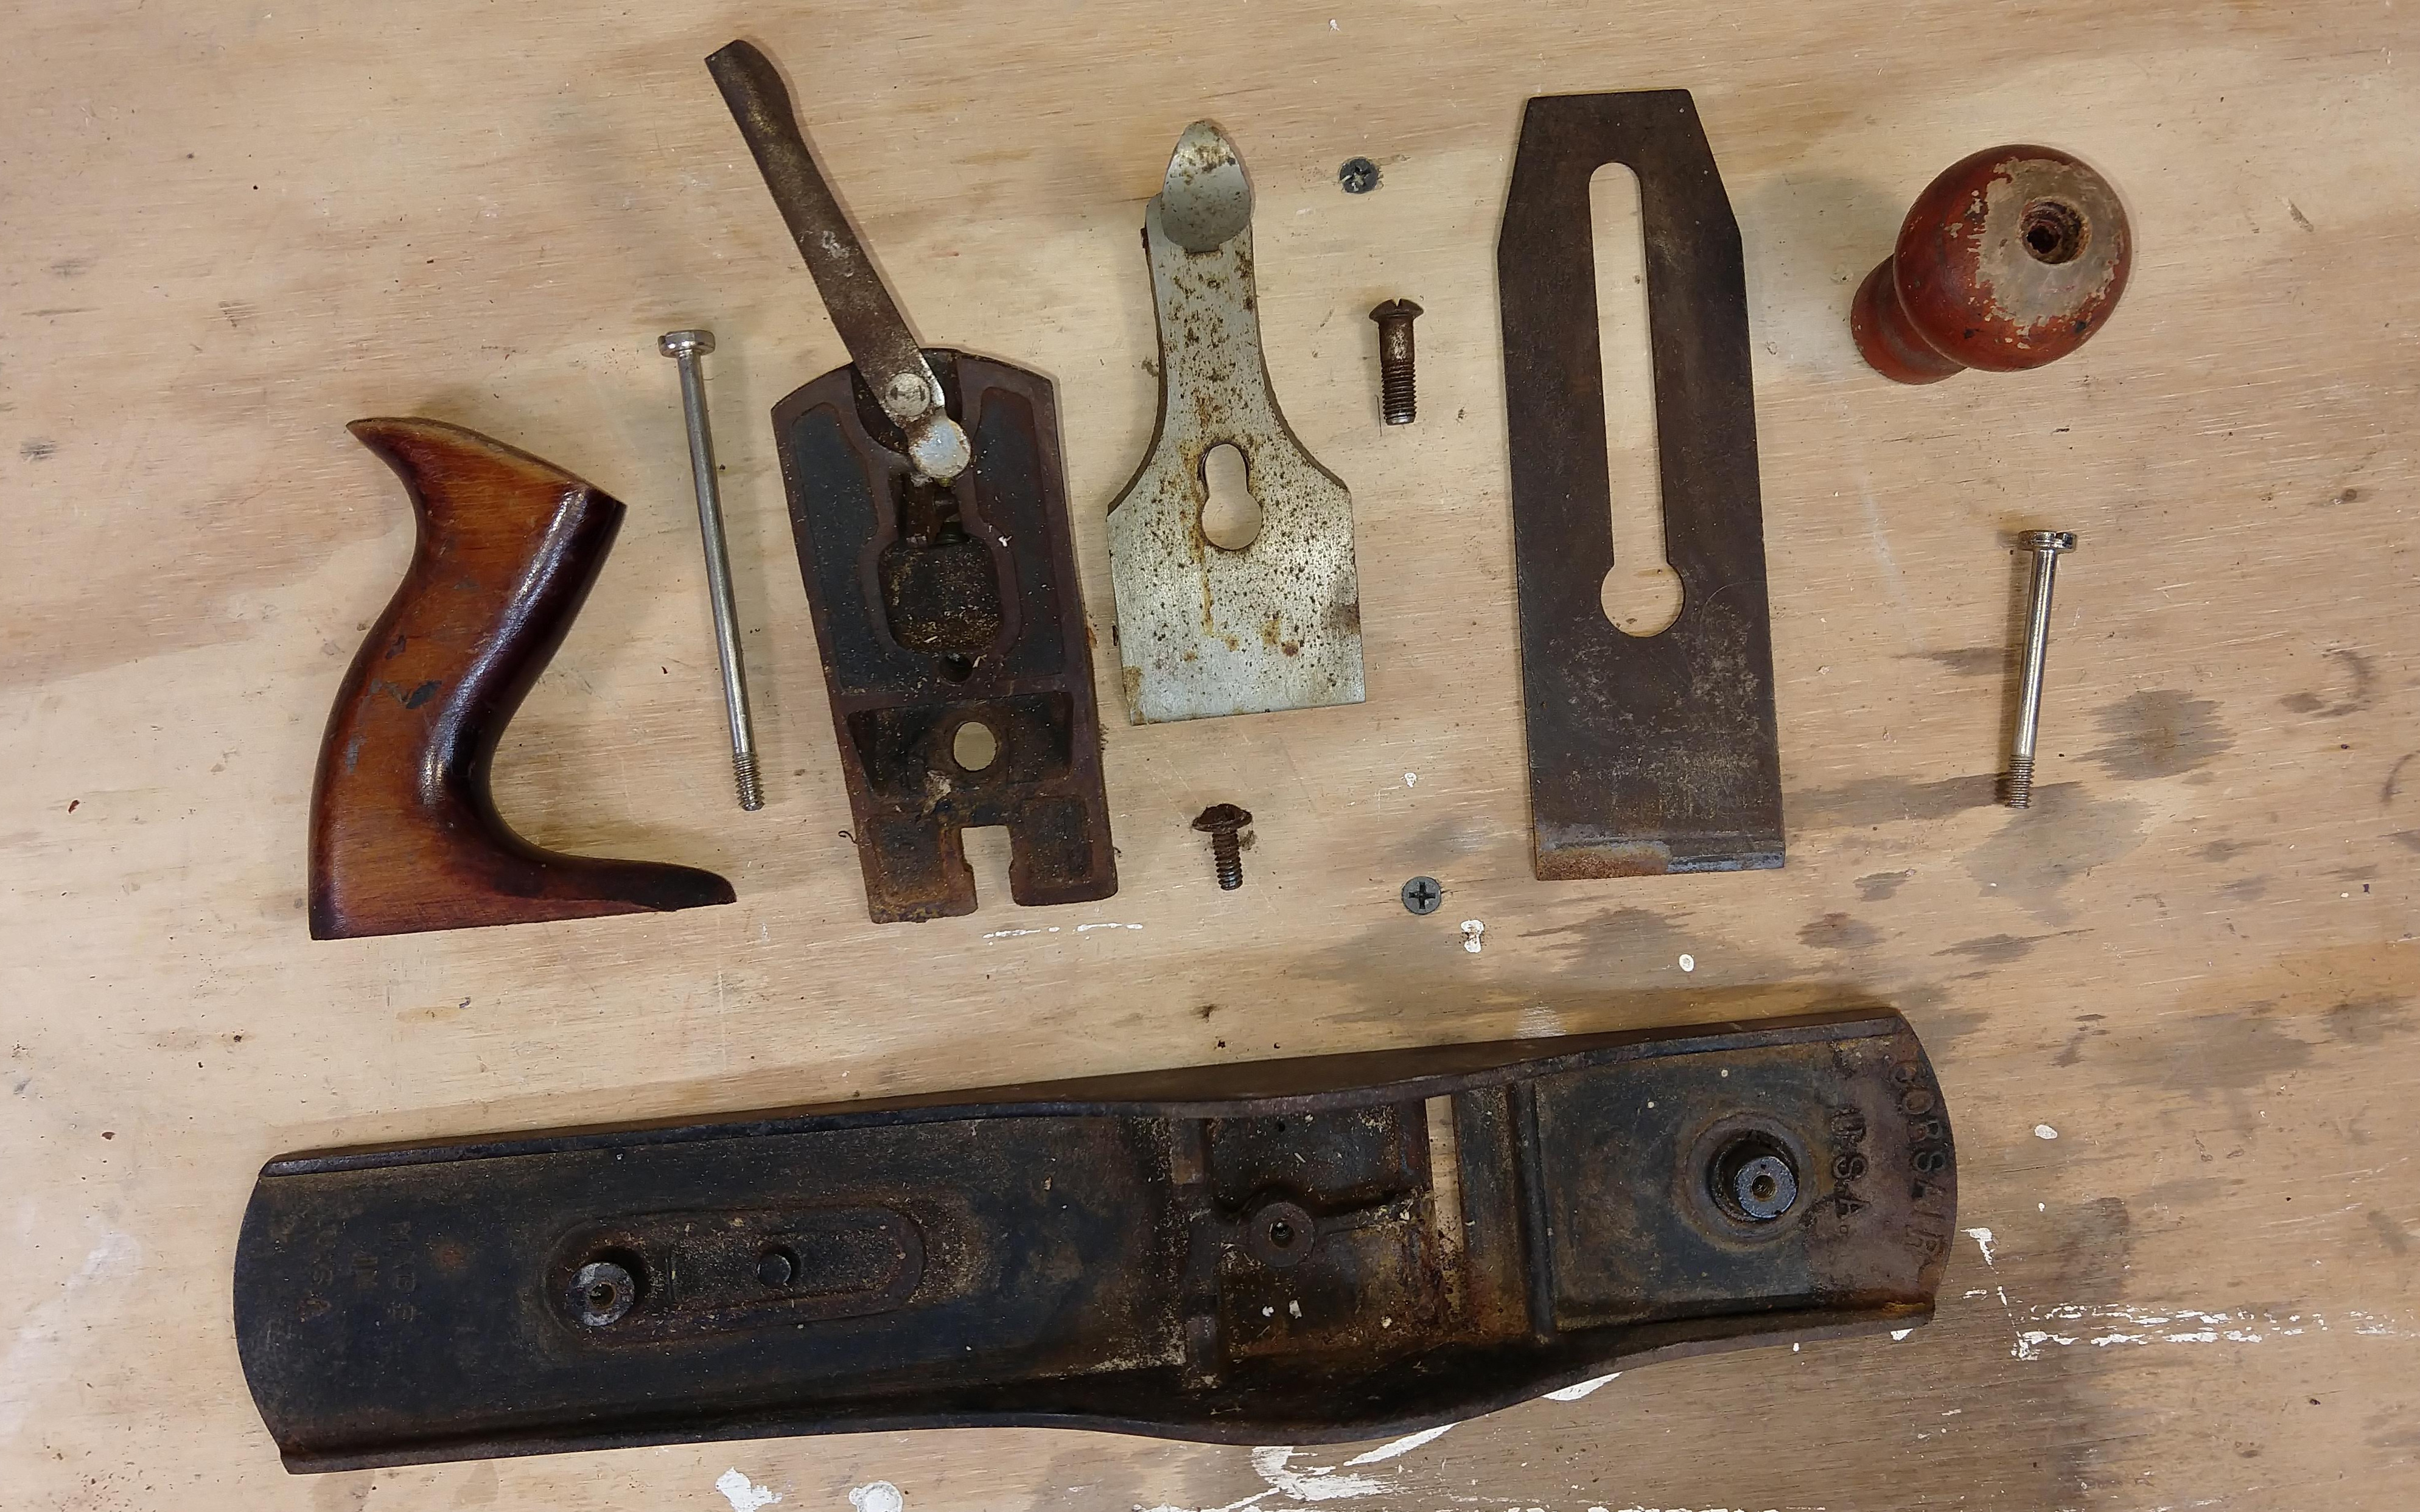
Well, let’s disassemble, and see what we’ve got here.
a some drink.
Using the sample size of All The Other Planes In My House (1), 100% of planes have a visible longitudinal scratch pattern on the surface. I’ll replicate that with some 100 grit sand paper on the bottom, and 150 grit on the sides2.
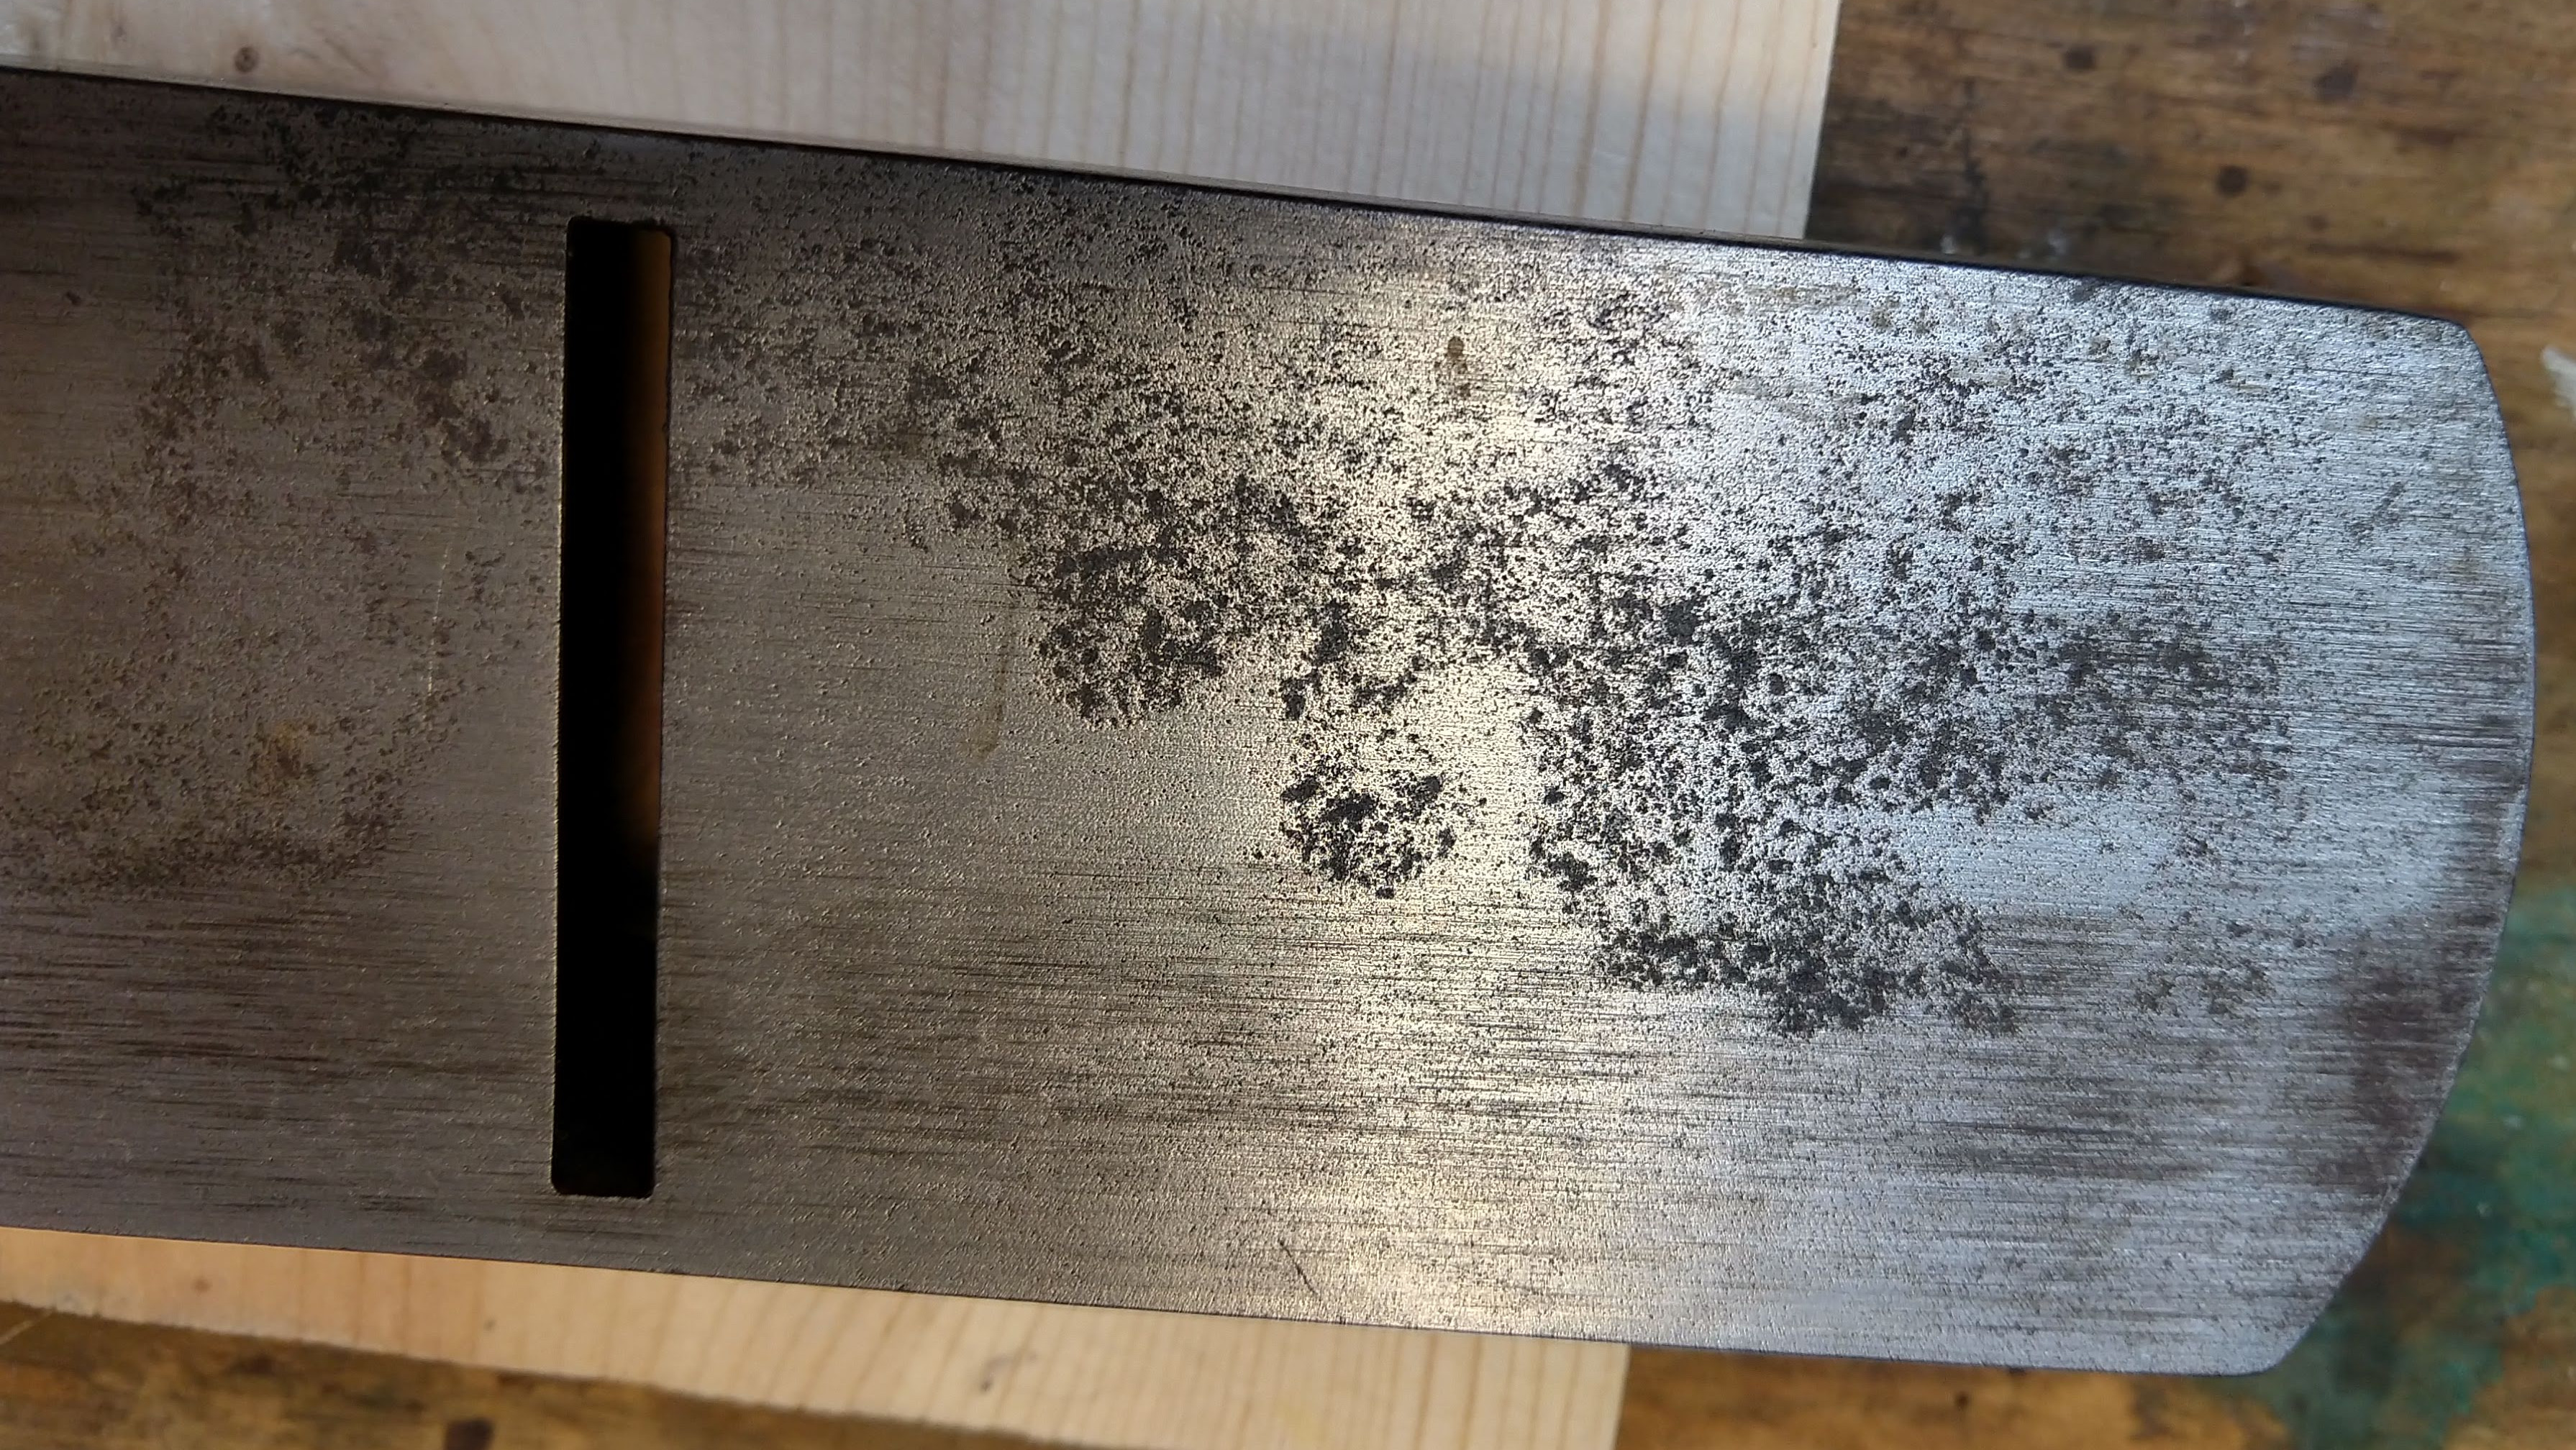
Now I’ll just clean the gunk off the rest of it. Wire brush, rust remover, and some steel wool. I mean, a powered wire wheel would be better, but then I’d have to see if it’s lead paint, and find the respirator… it’s around here somewhere. Probably on a shelf. Or in a drawer. Or a box. Yeah, probably in a box. A box on a shelf.

Now, planes are usually painted a solid color with insignia on the tail.
Wait.
Aww…
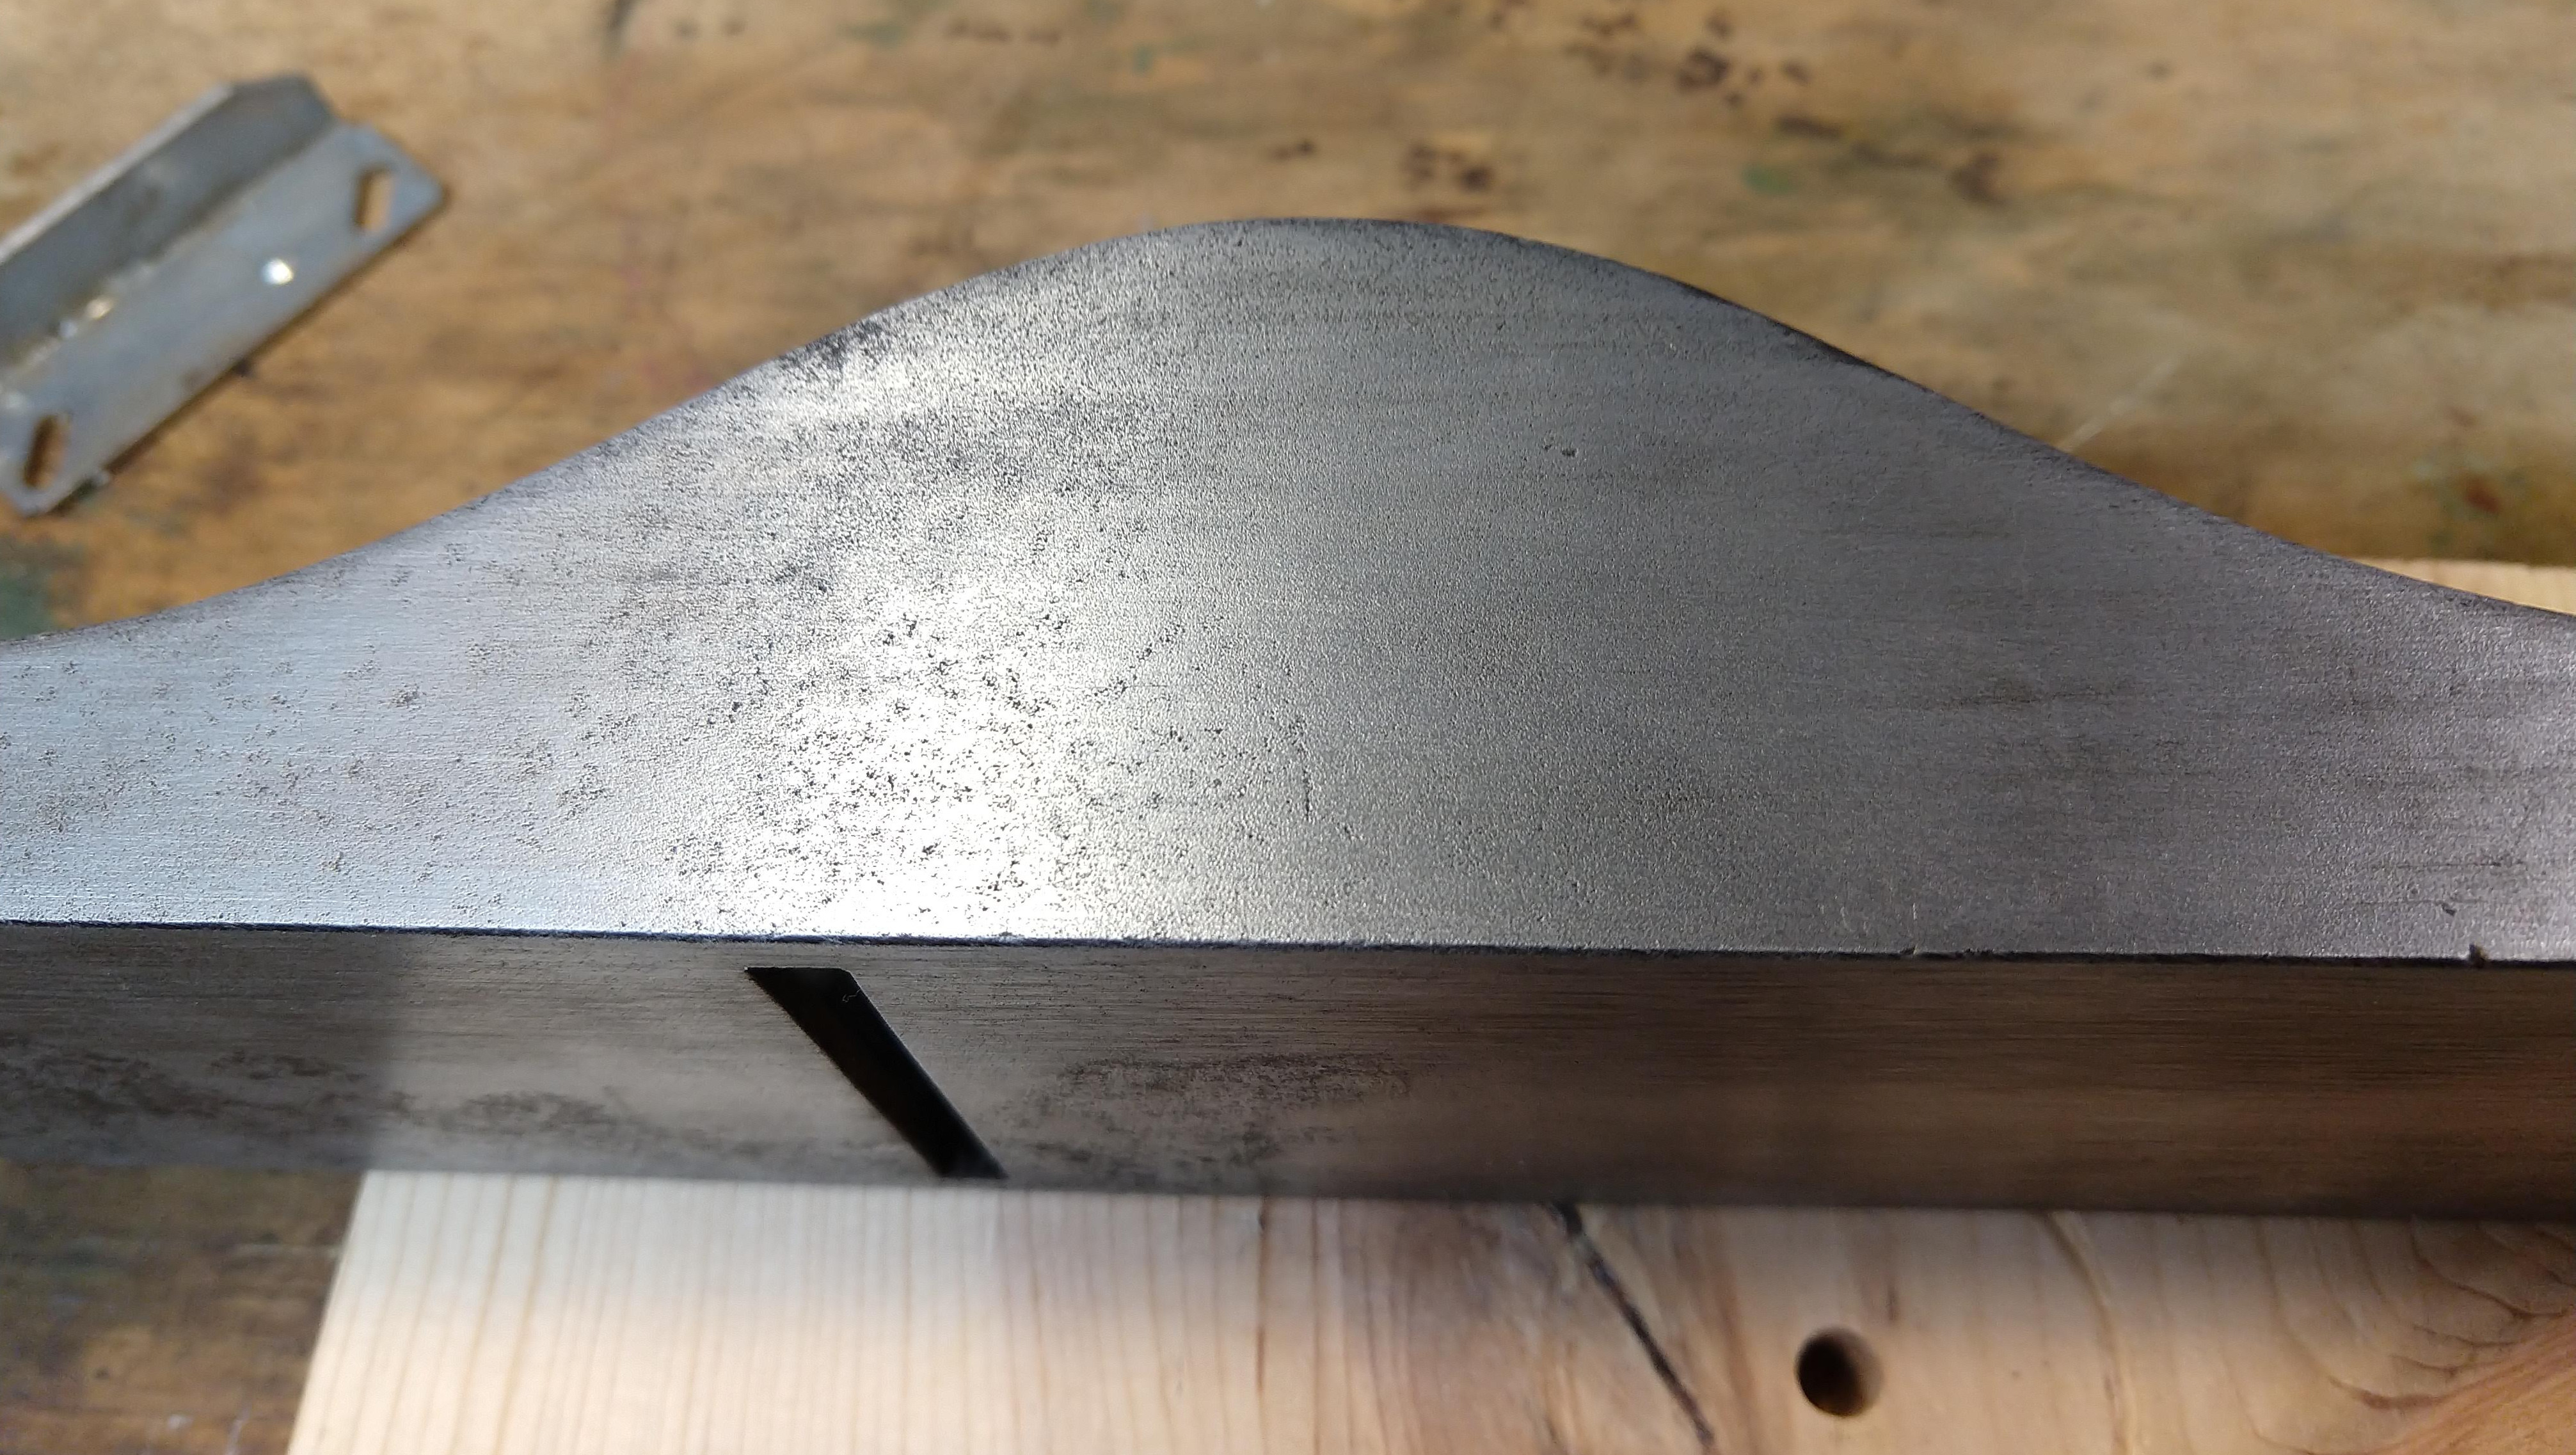
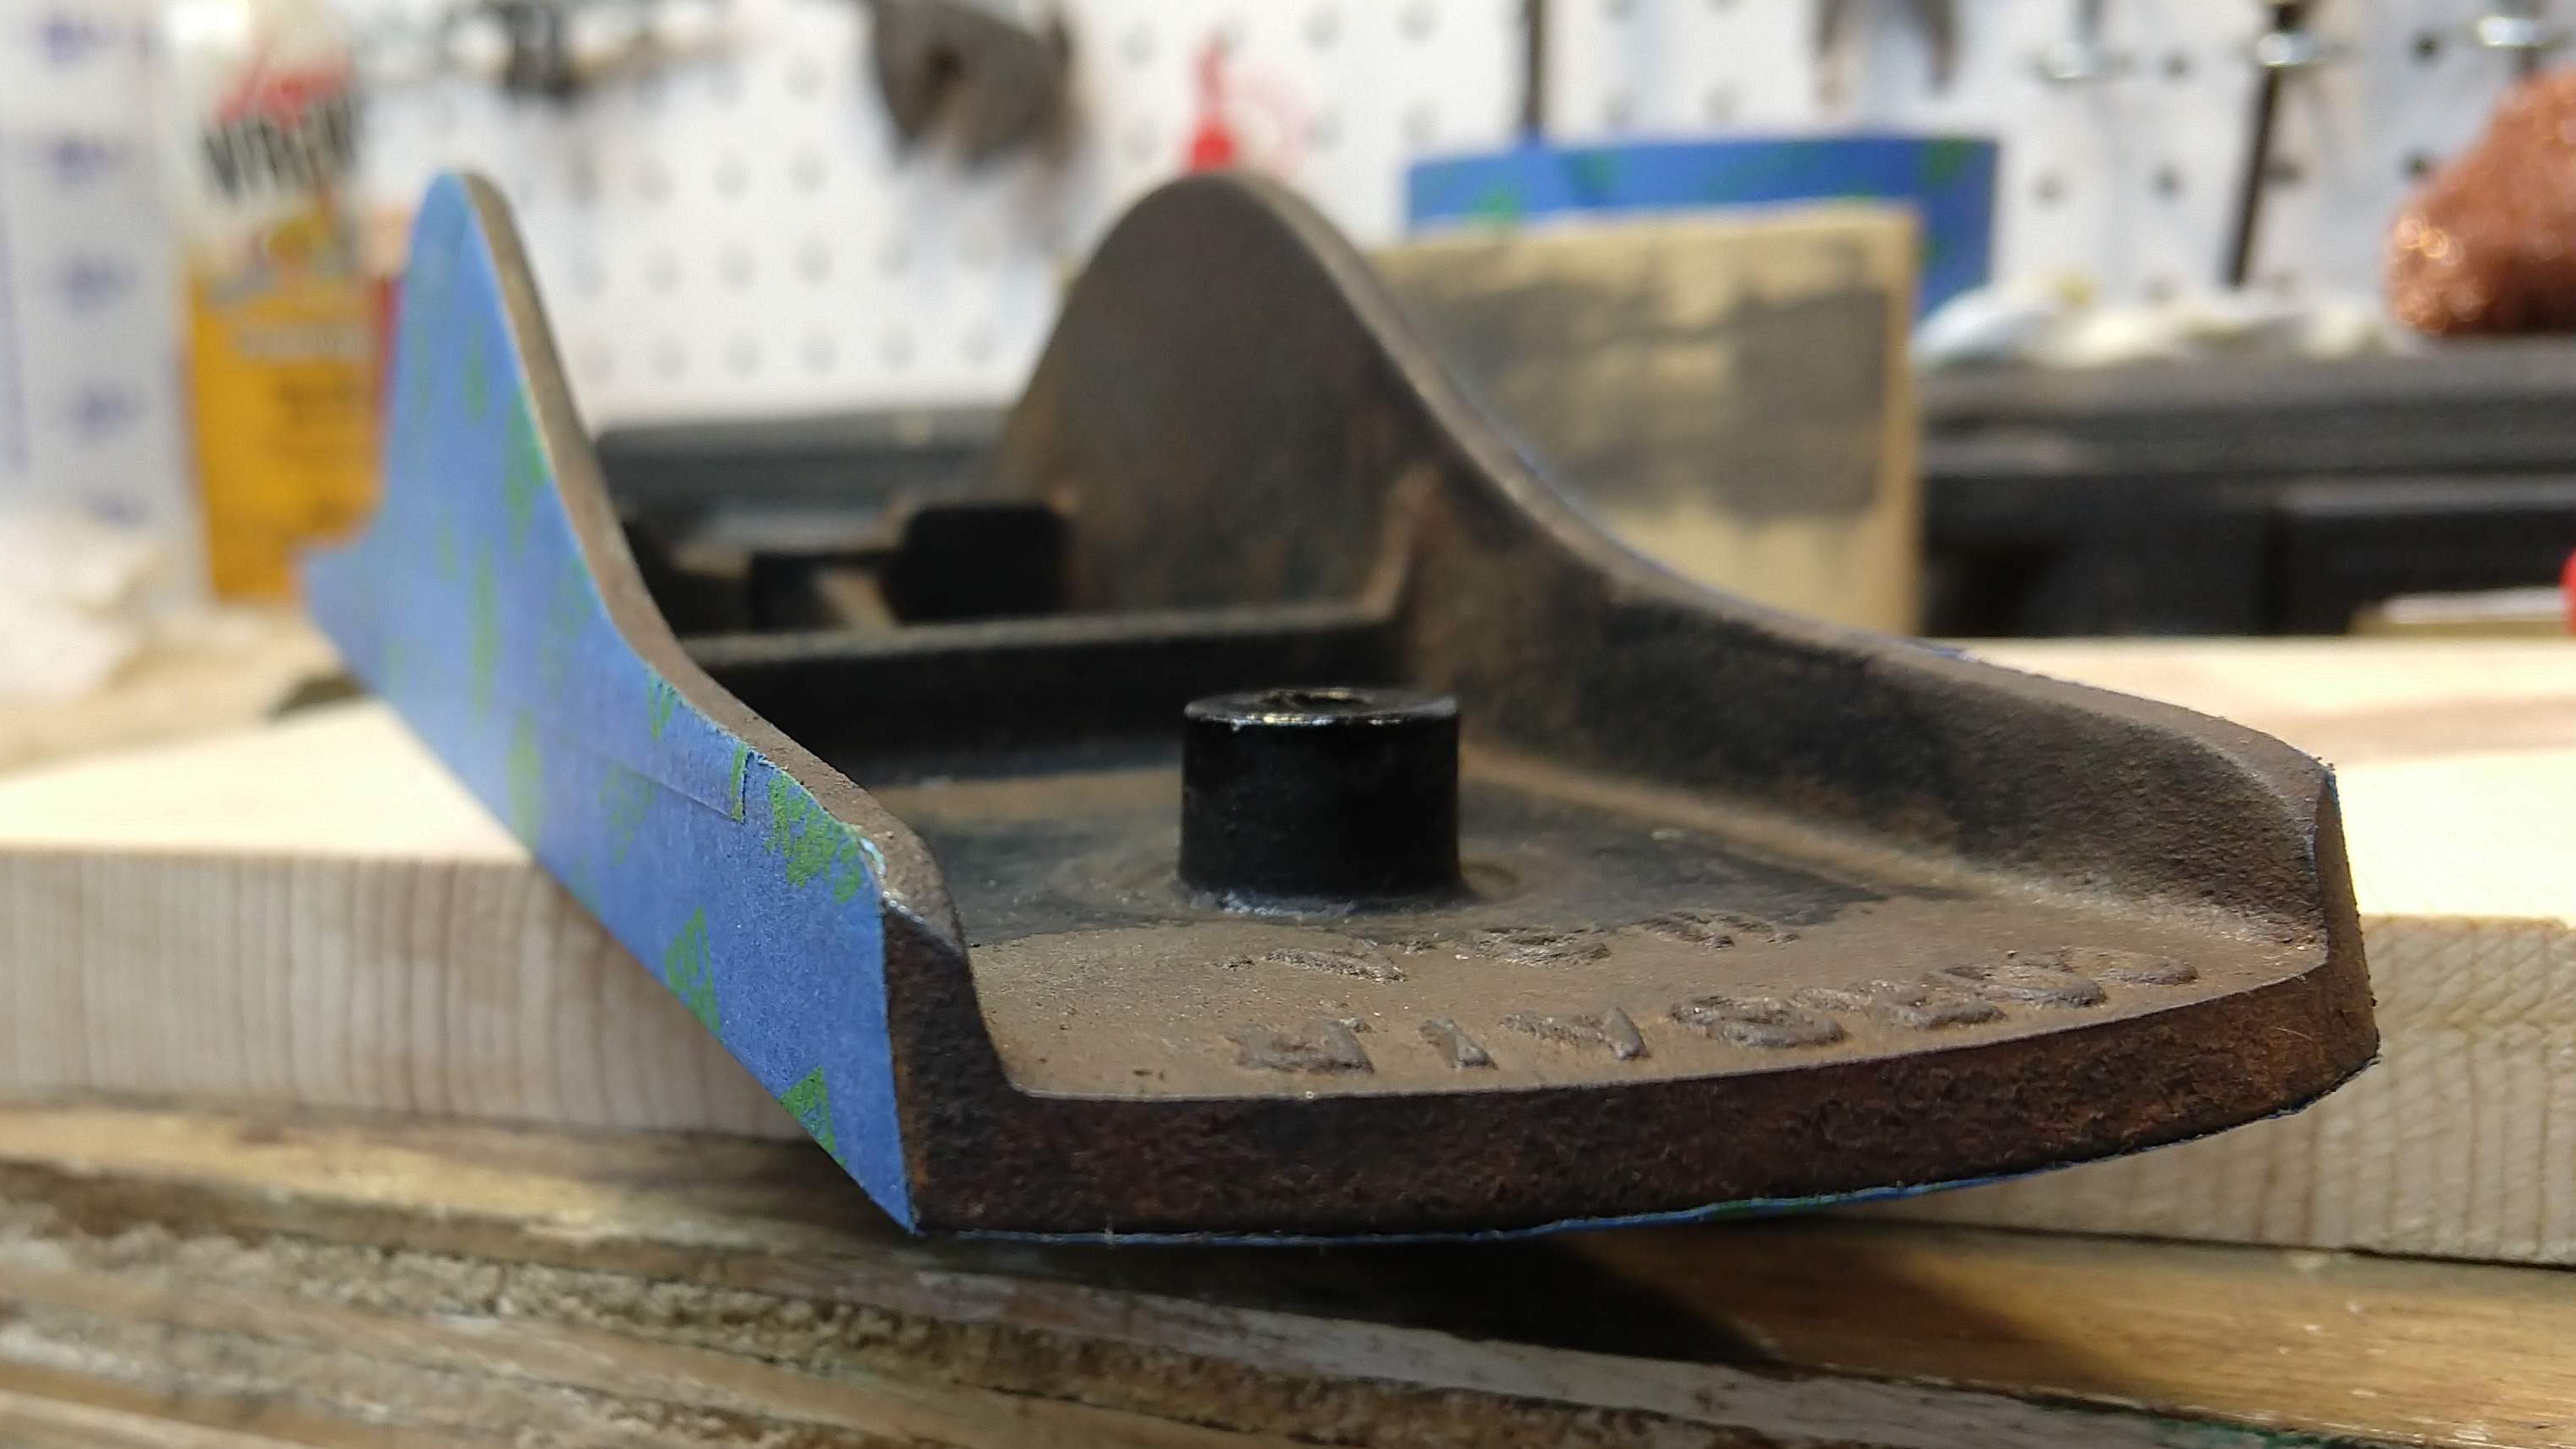
So, (bench) planes are usually painted on the top, but the bottom and sides are bare metal.
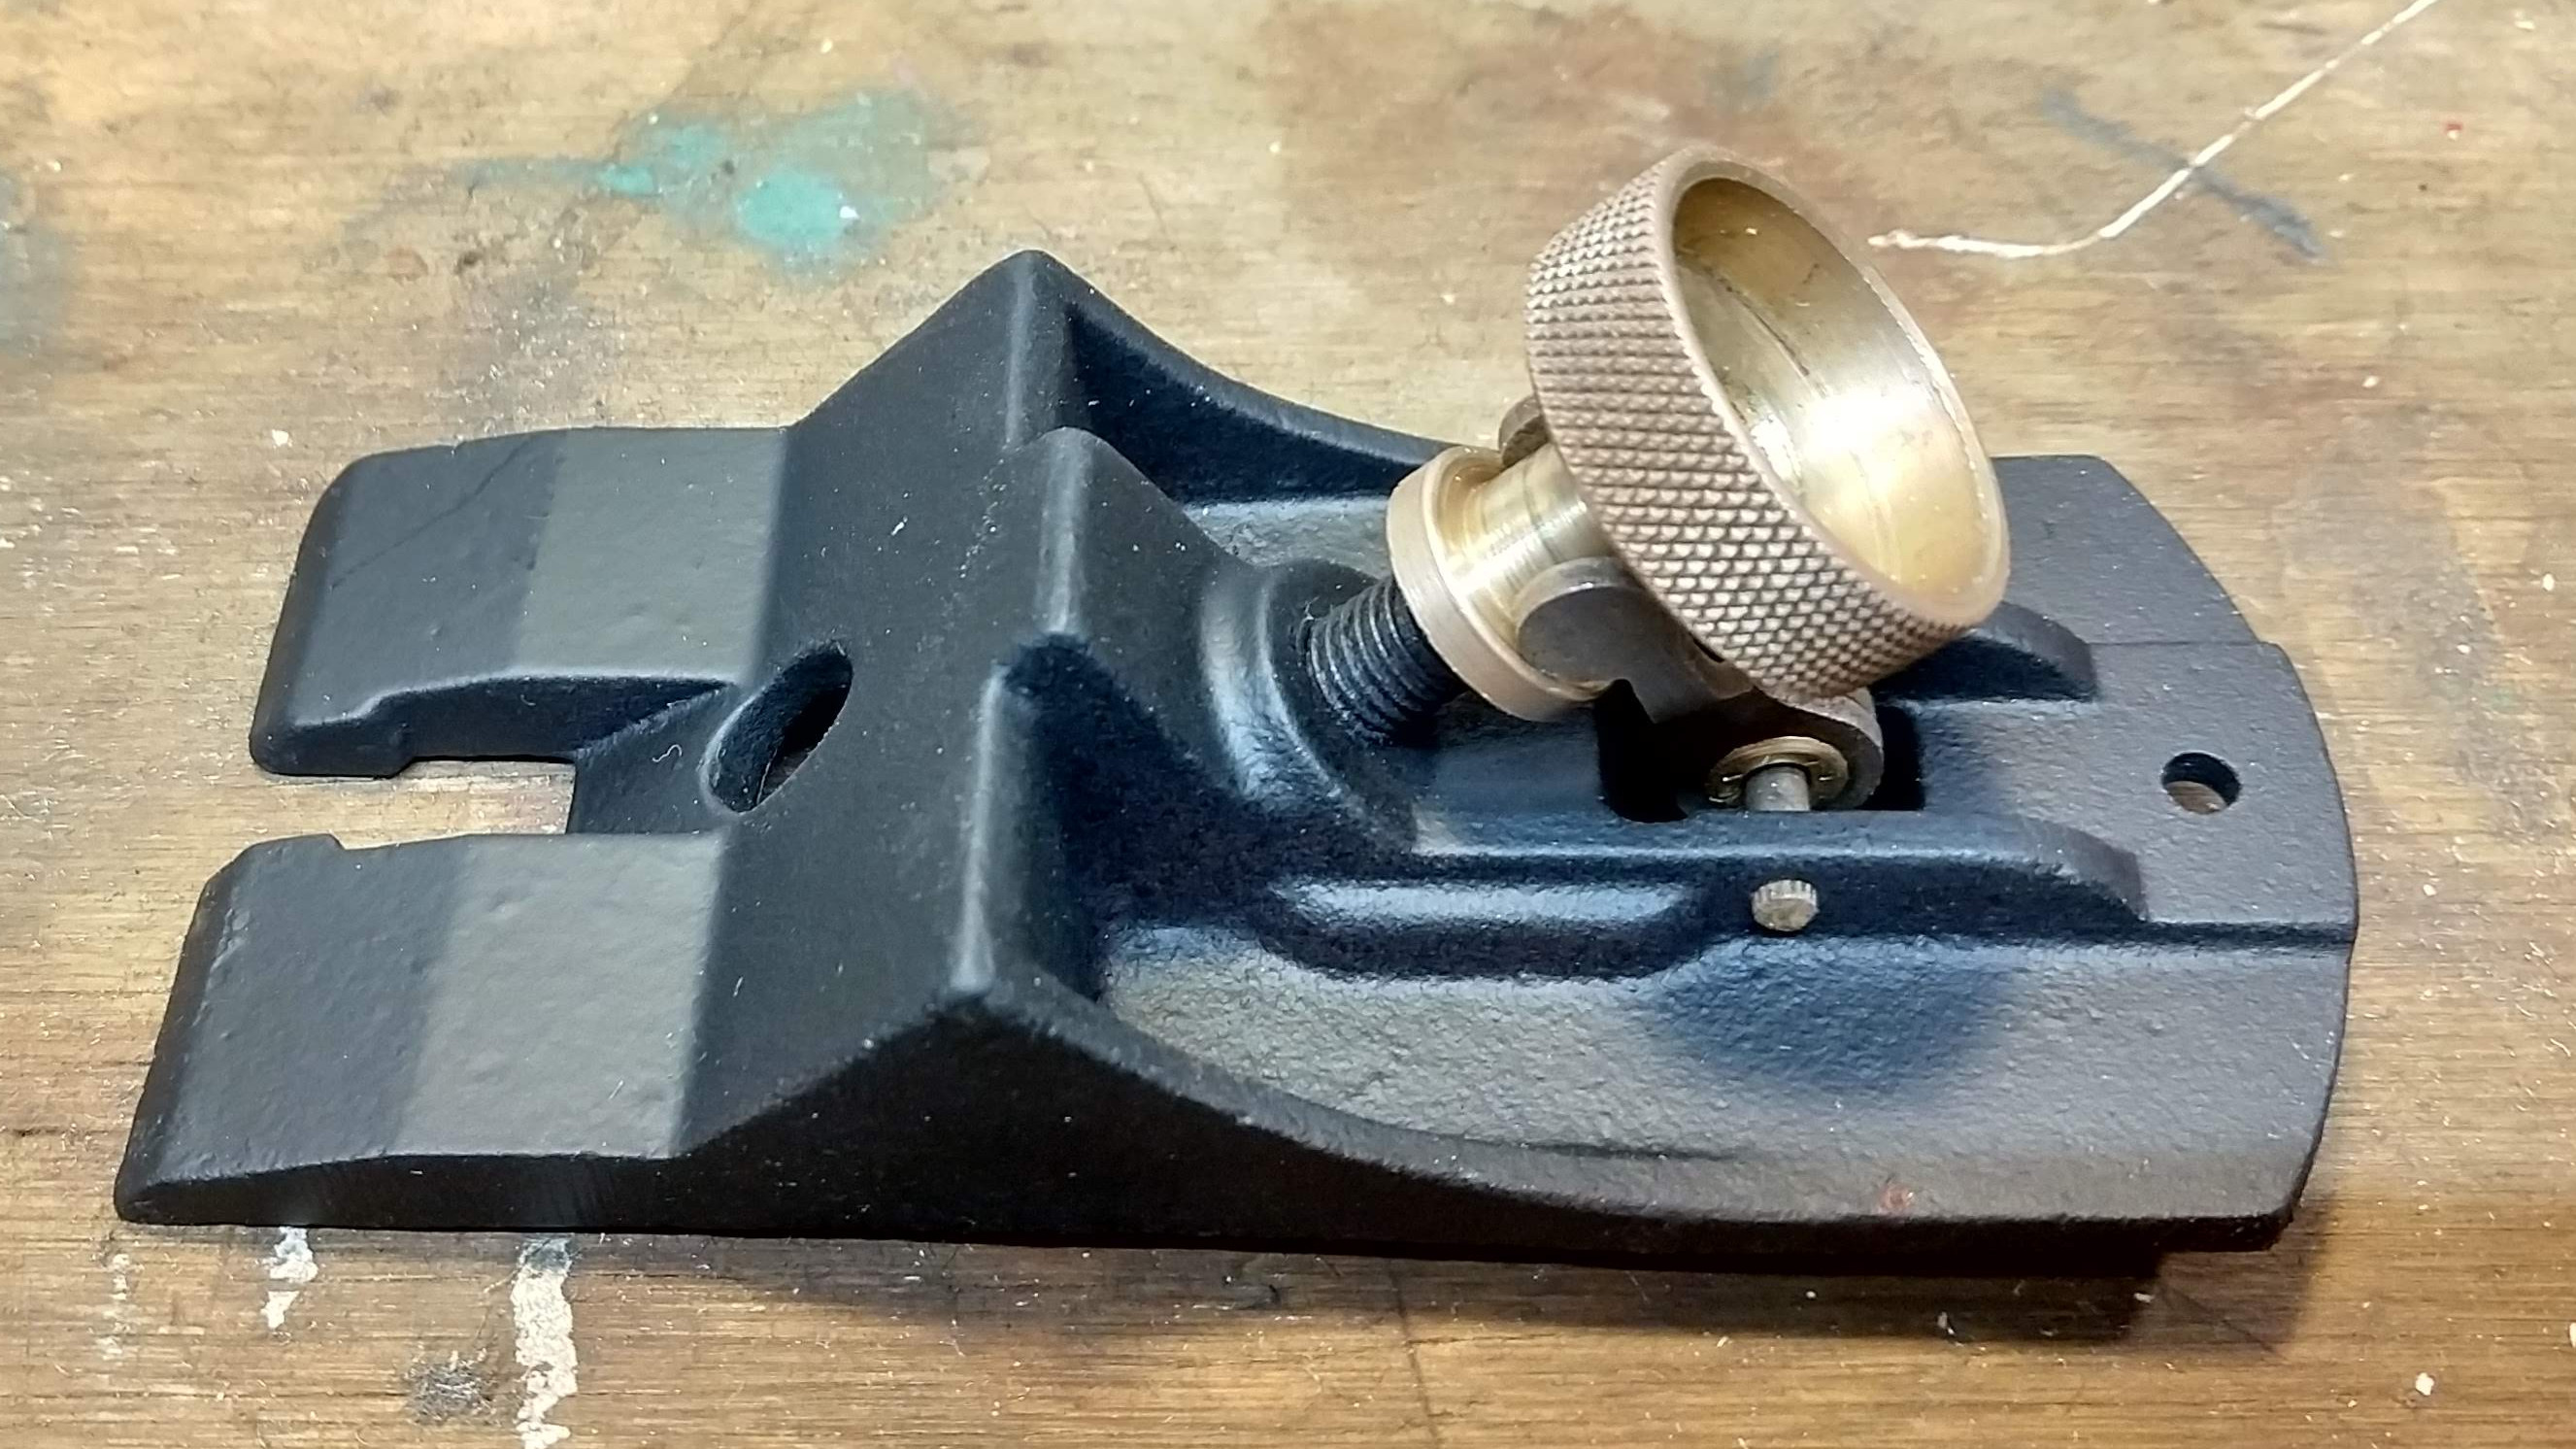
All the screws and such cleaned up well using the usual methods.
I did resort to a vinegar bath for the depth adjustment wheel. Just try and find a brass oxide6 remover in the store, I dare you.
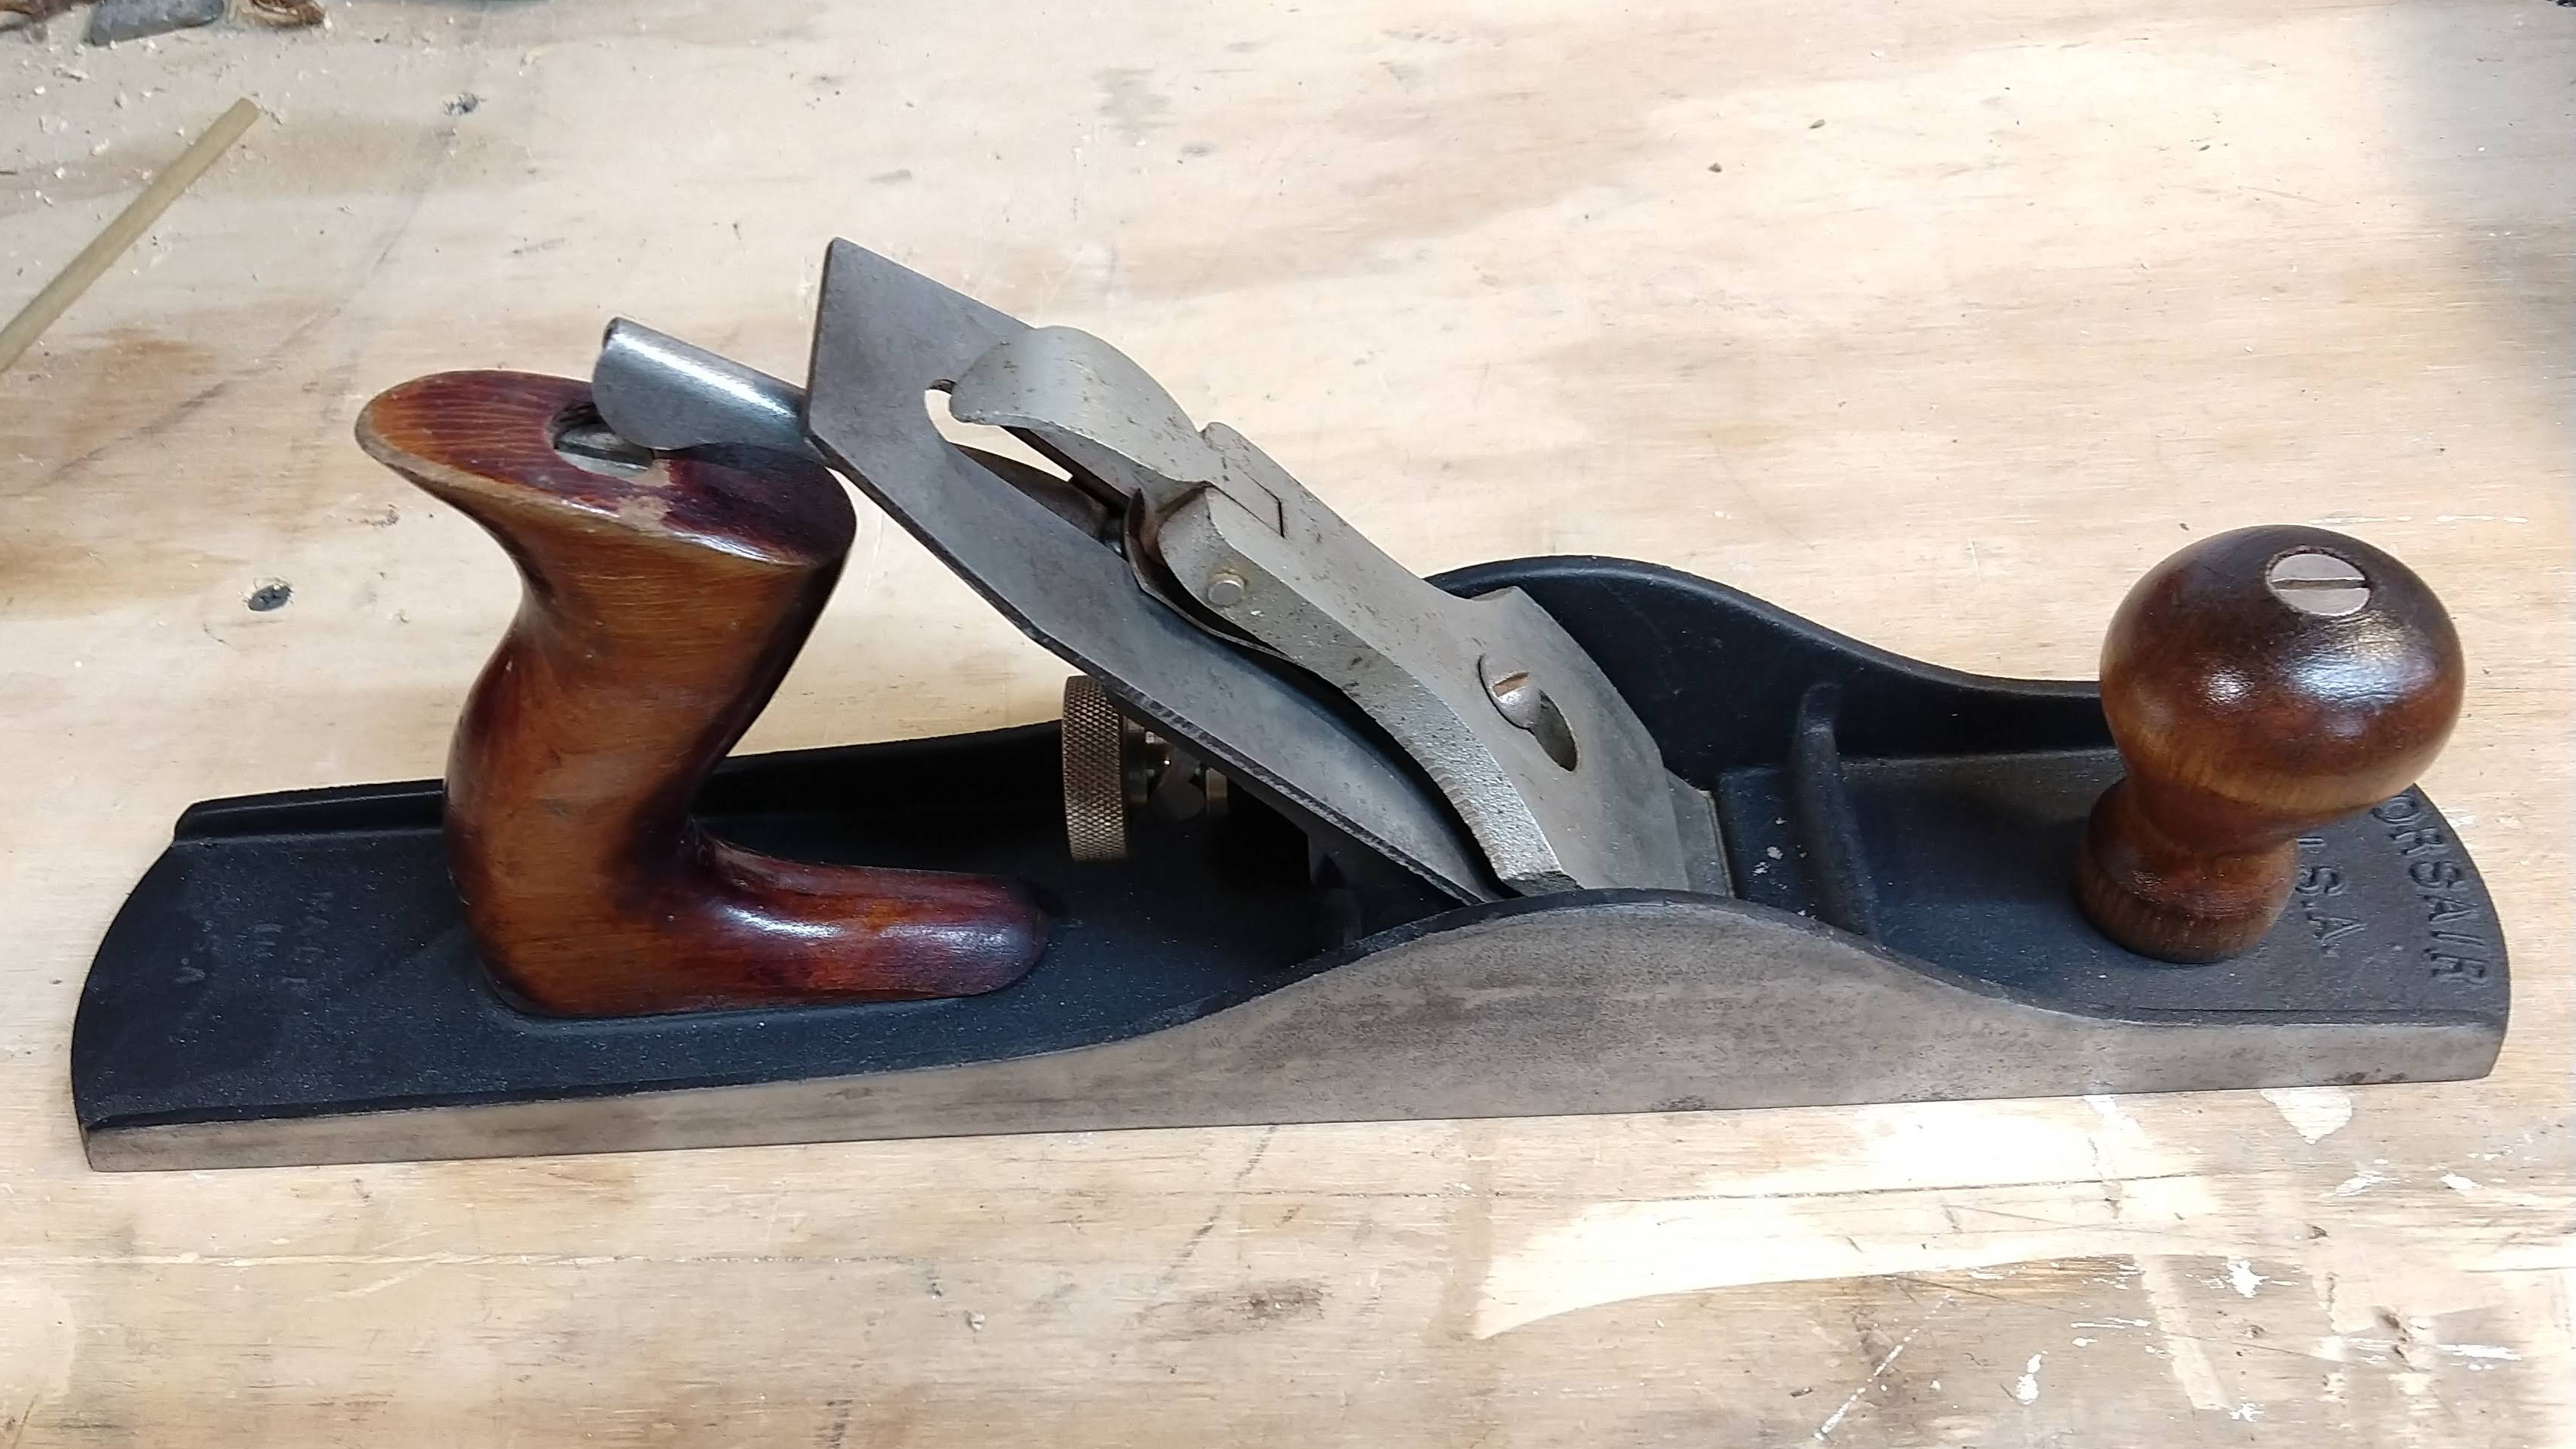
Now I just need to deal with the wood handles. The back handle actually looks pretty good, I’m not going to do anything to it except a mild cleaning.
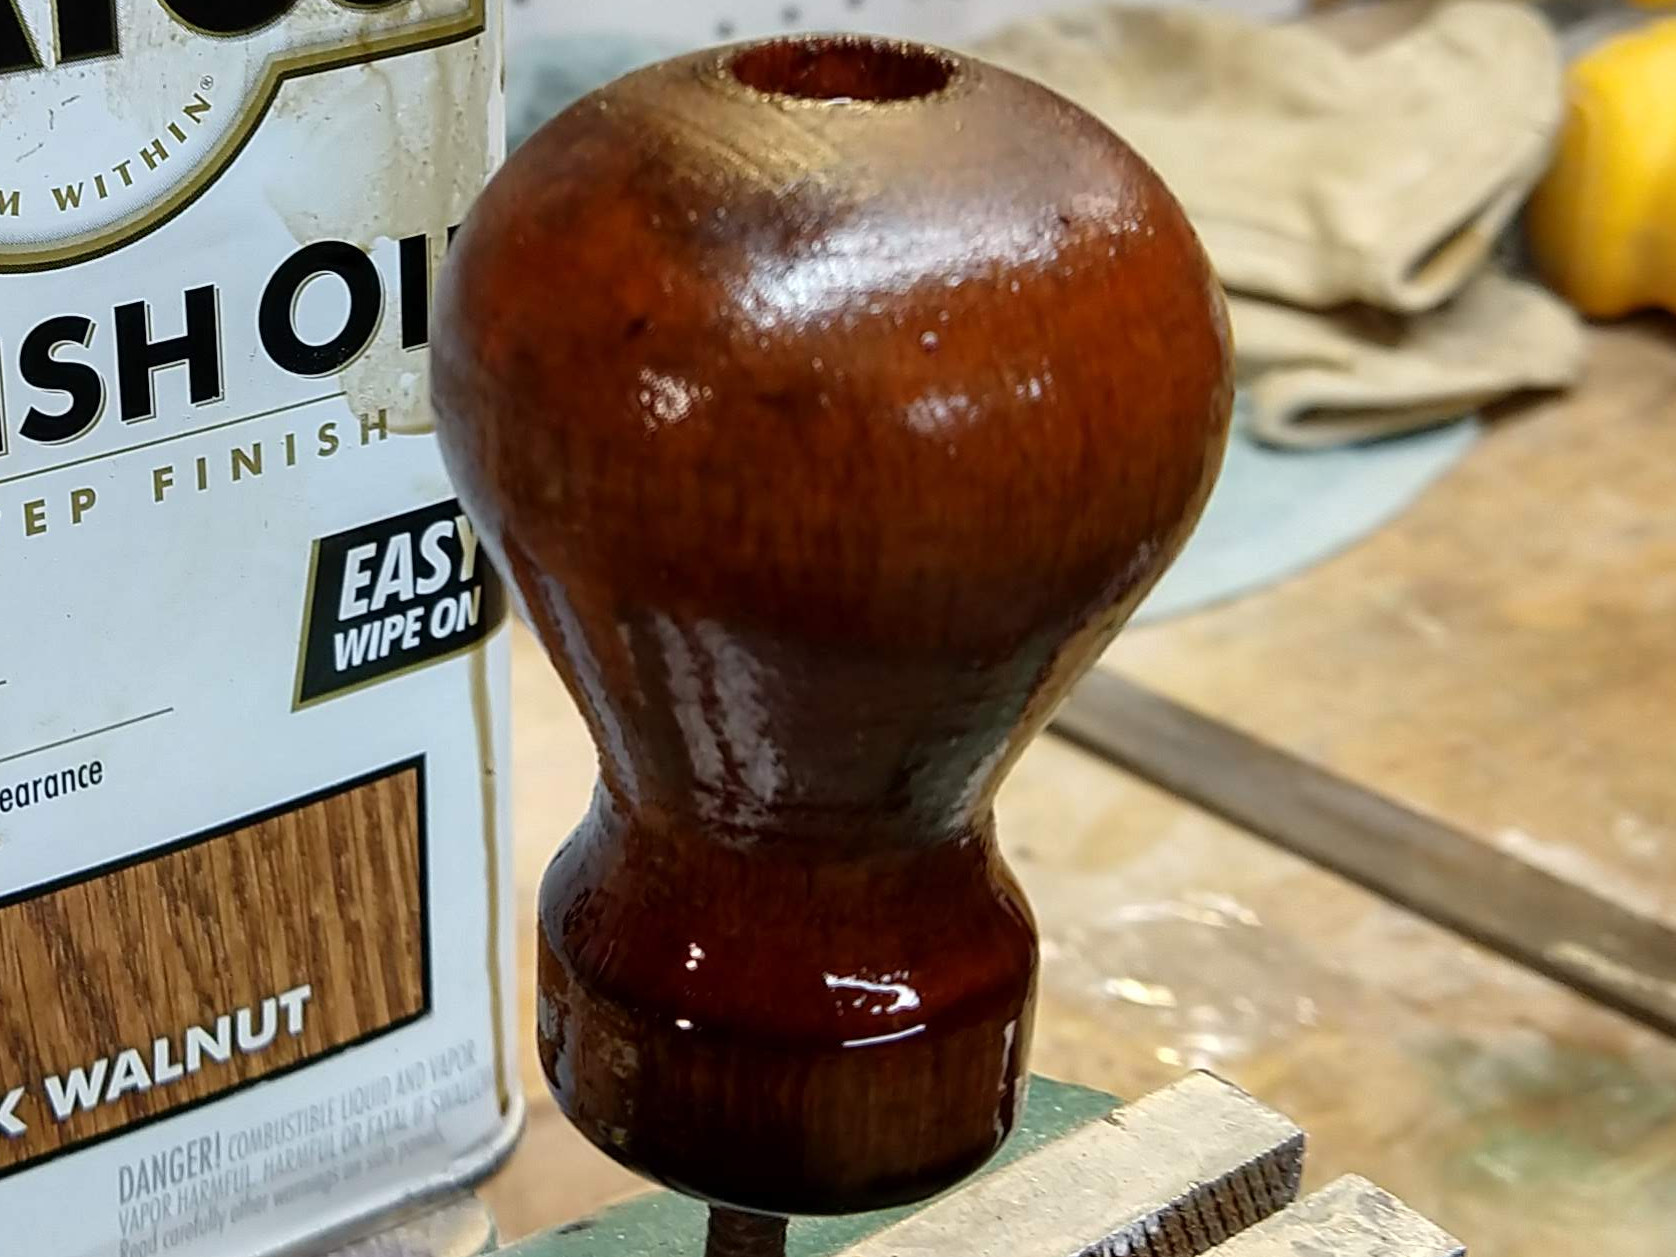
The front handle though, someone (maybe Corsair?) decided that red paint was the way to go. I disagree with them. I’ll use some paint stripper to see what’s under there.
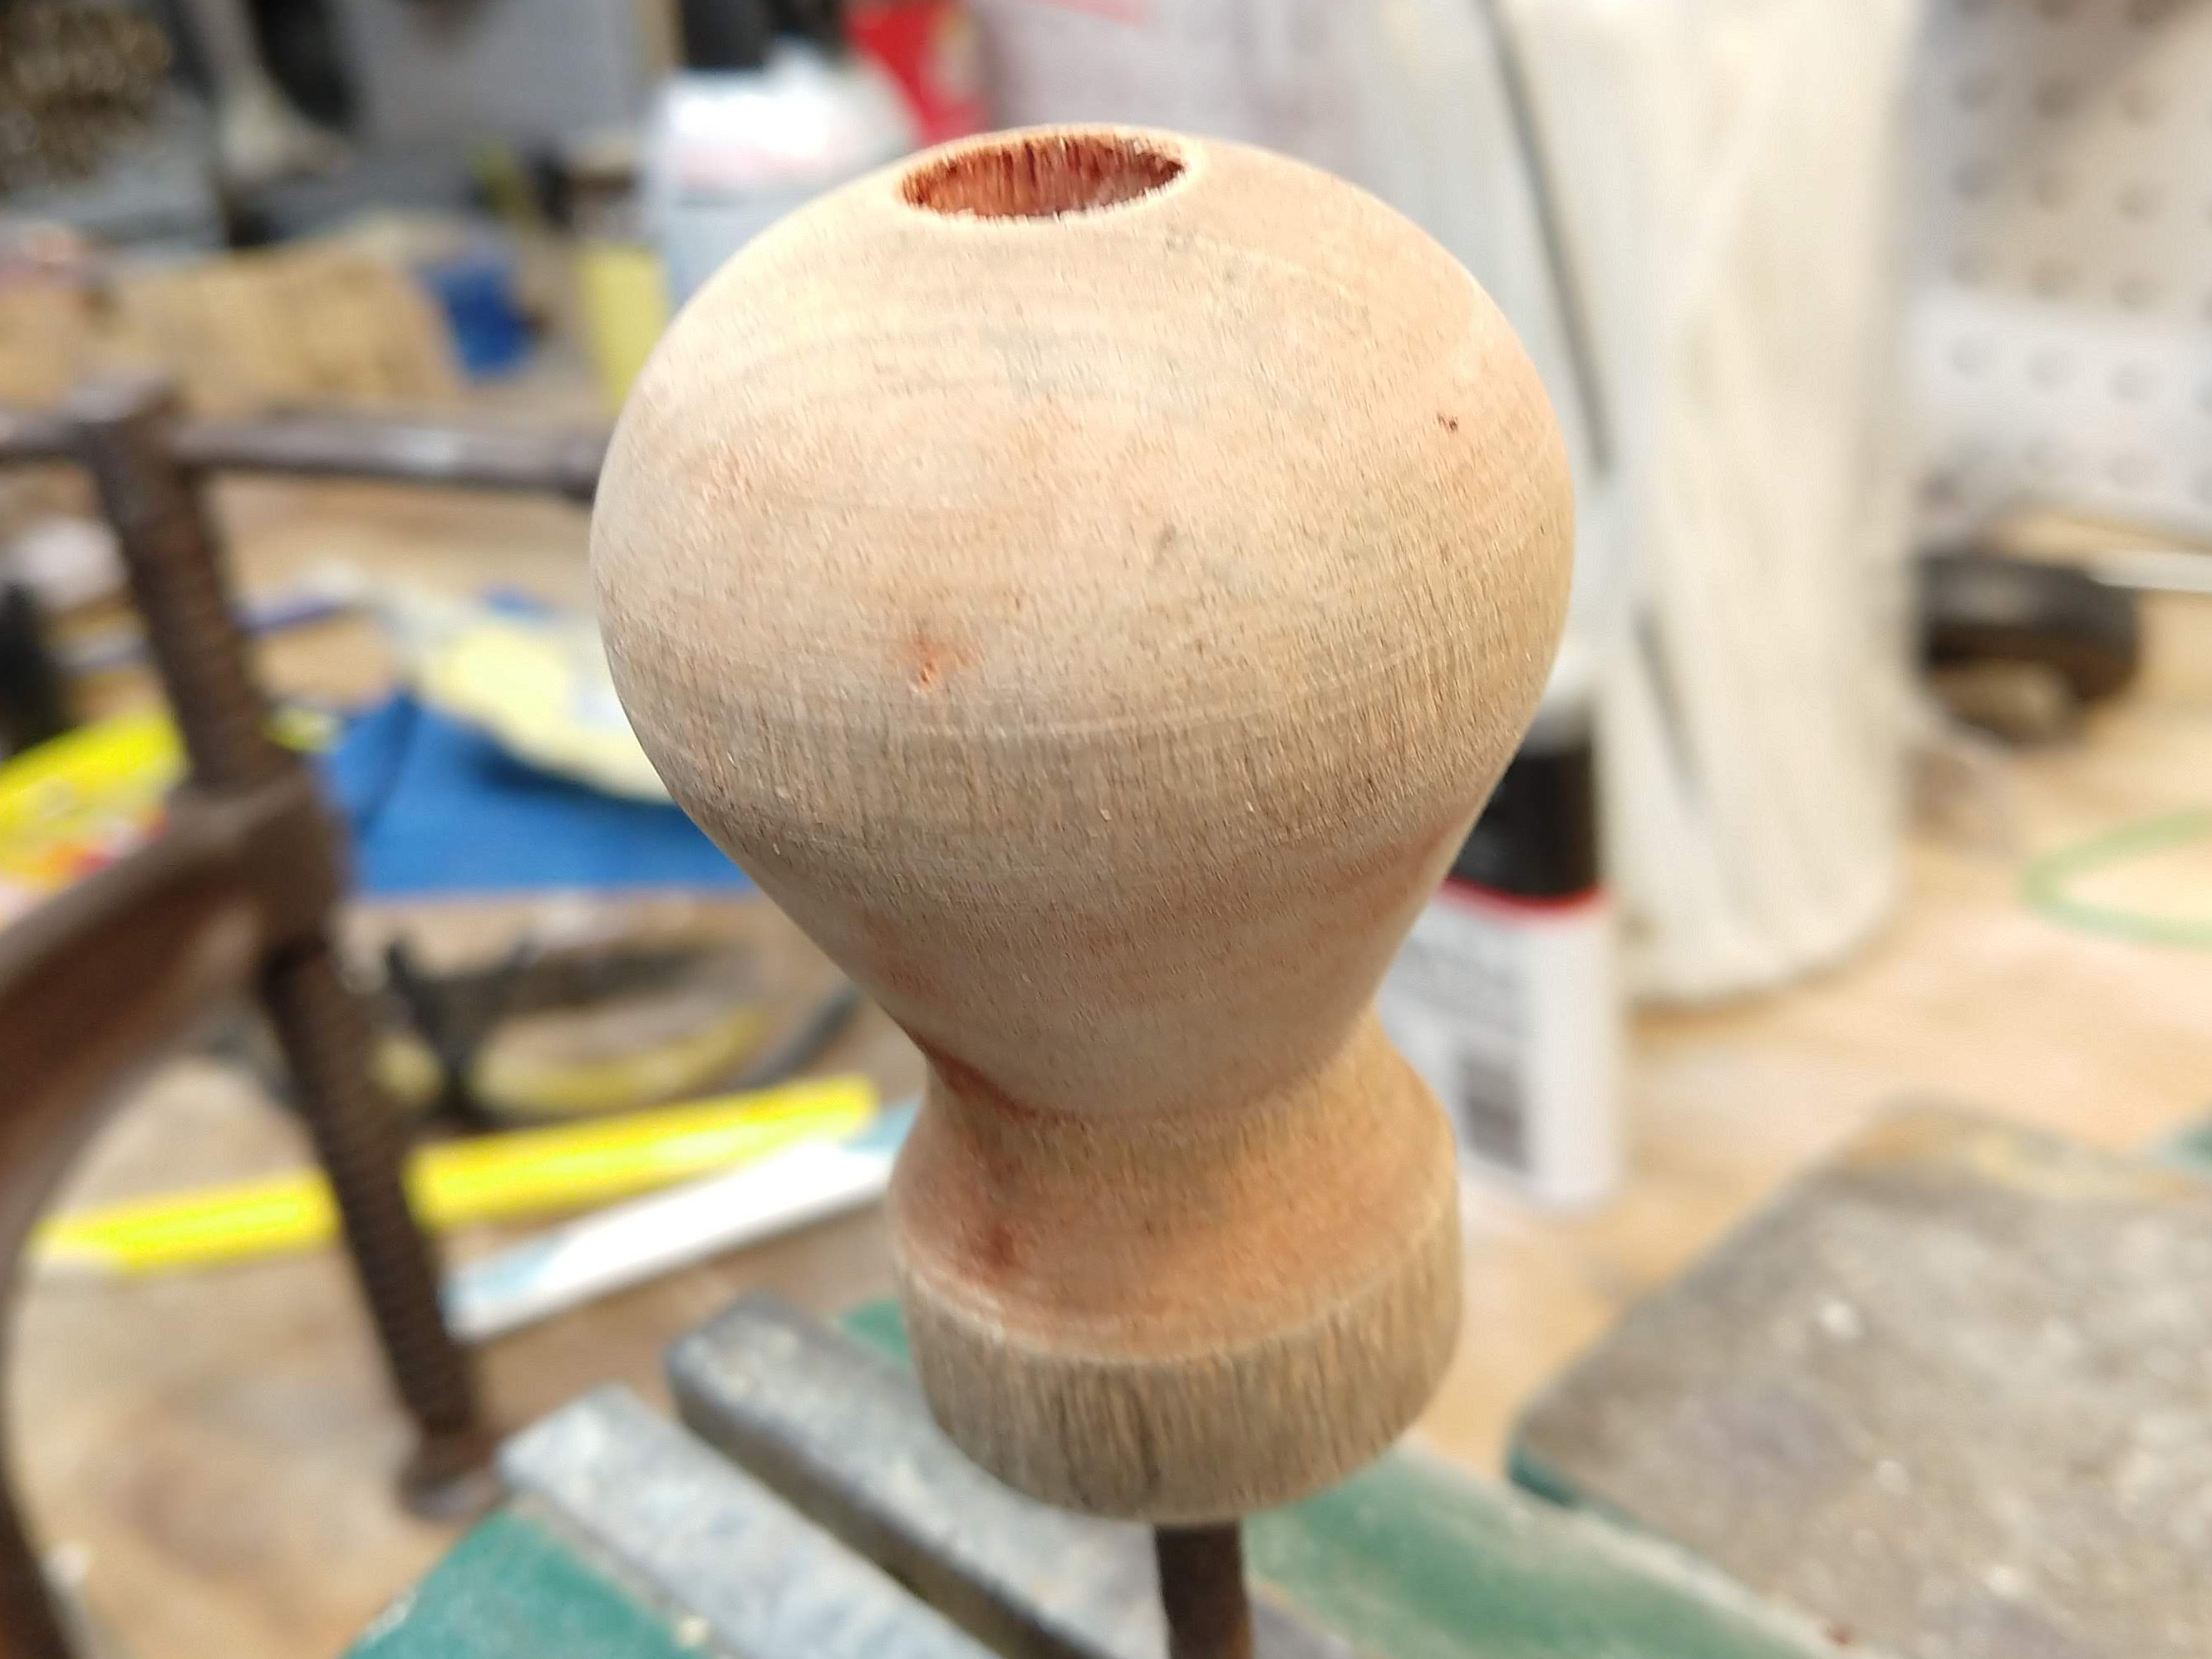
I’ll use a darker oil-based finish (Danish Oil, specifically) and hopefully I can replicate the look of the rear handle.

Uh.
Hrm.
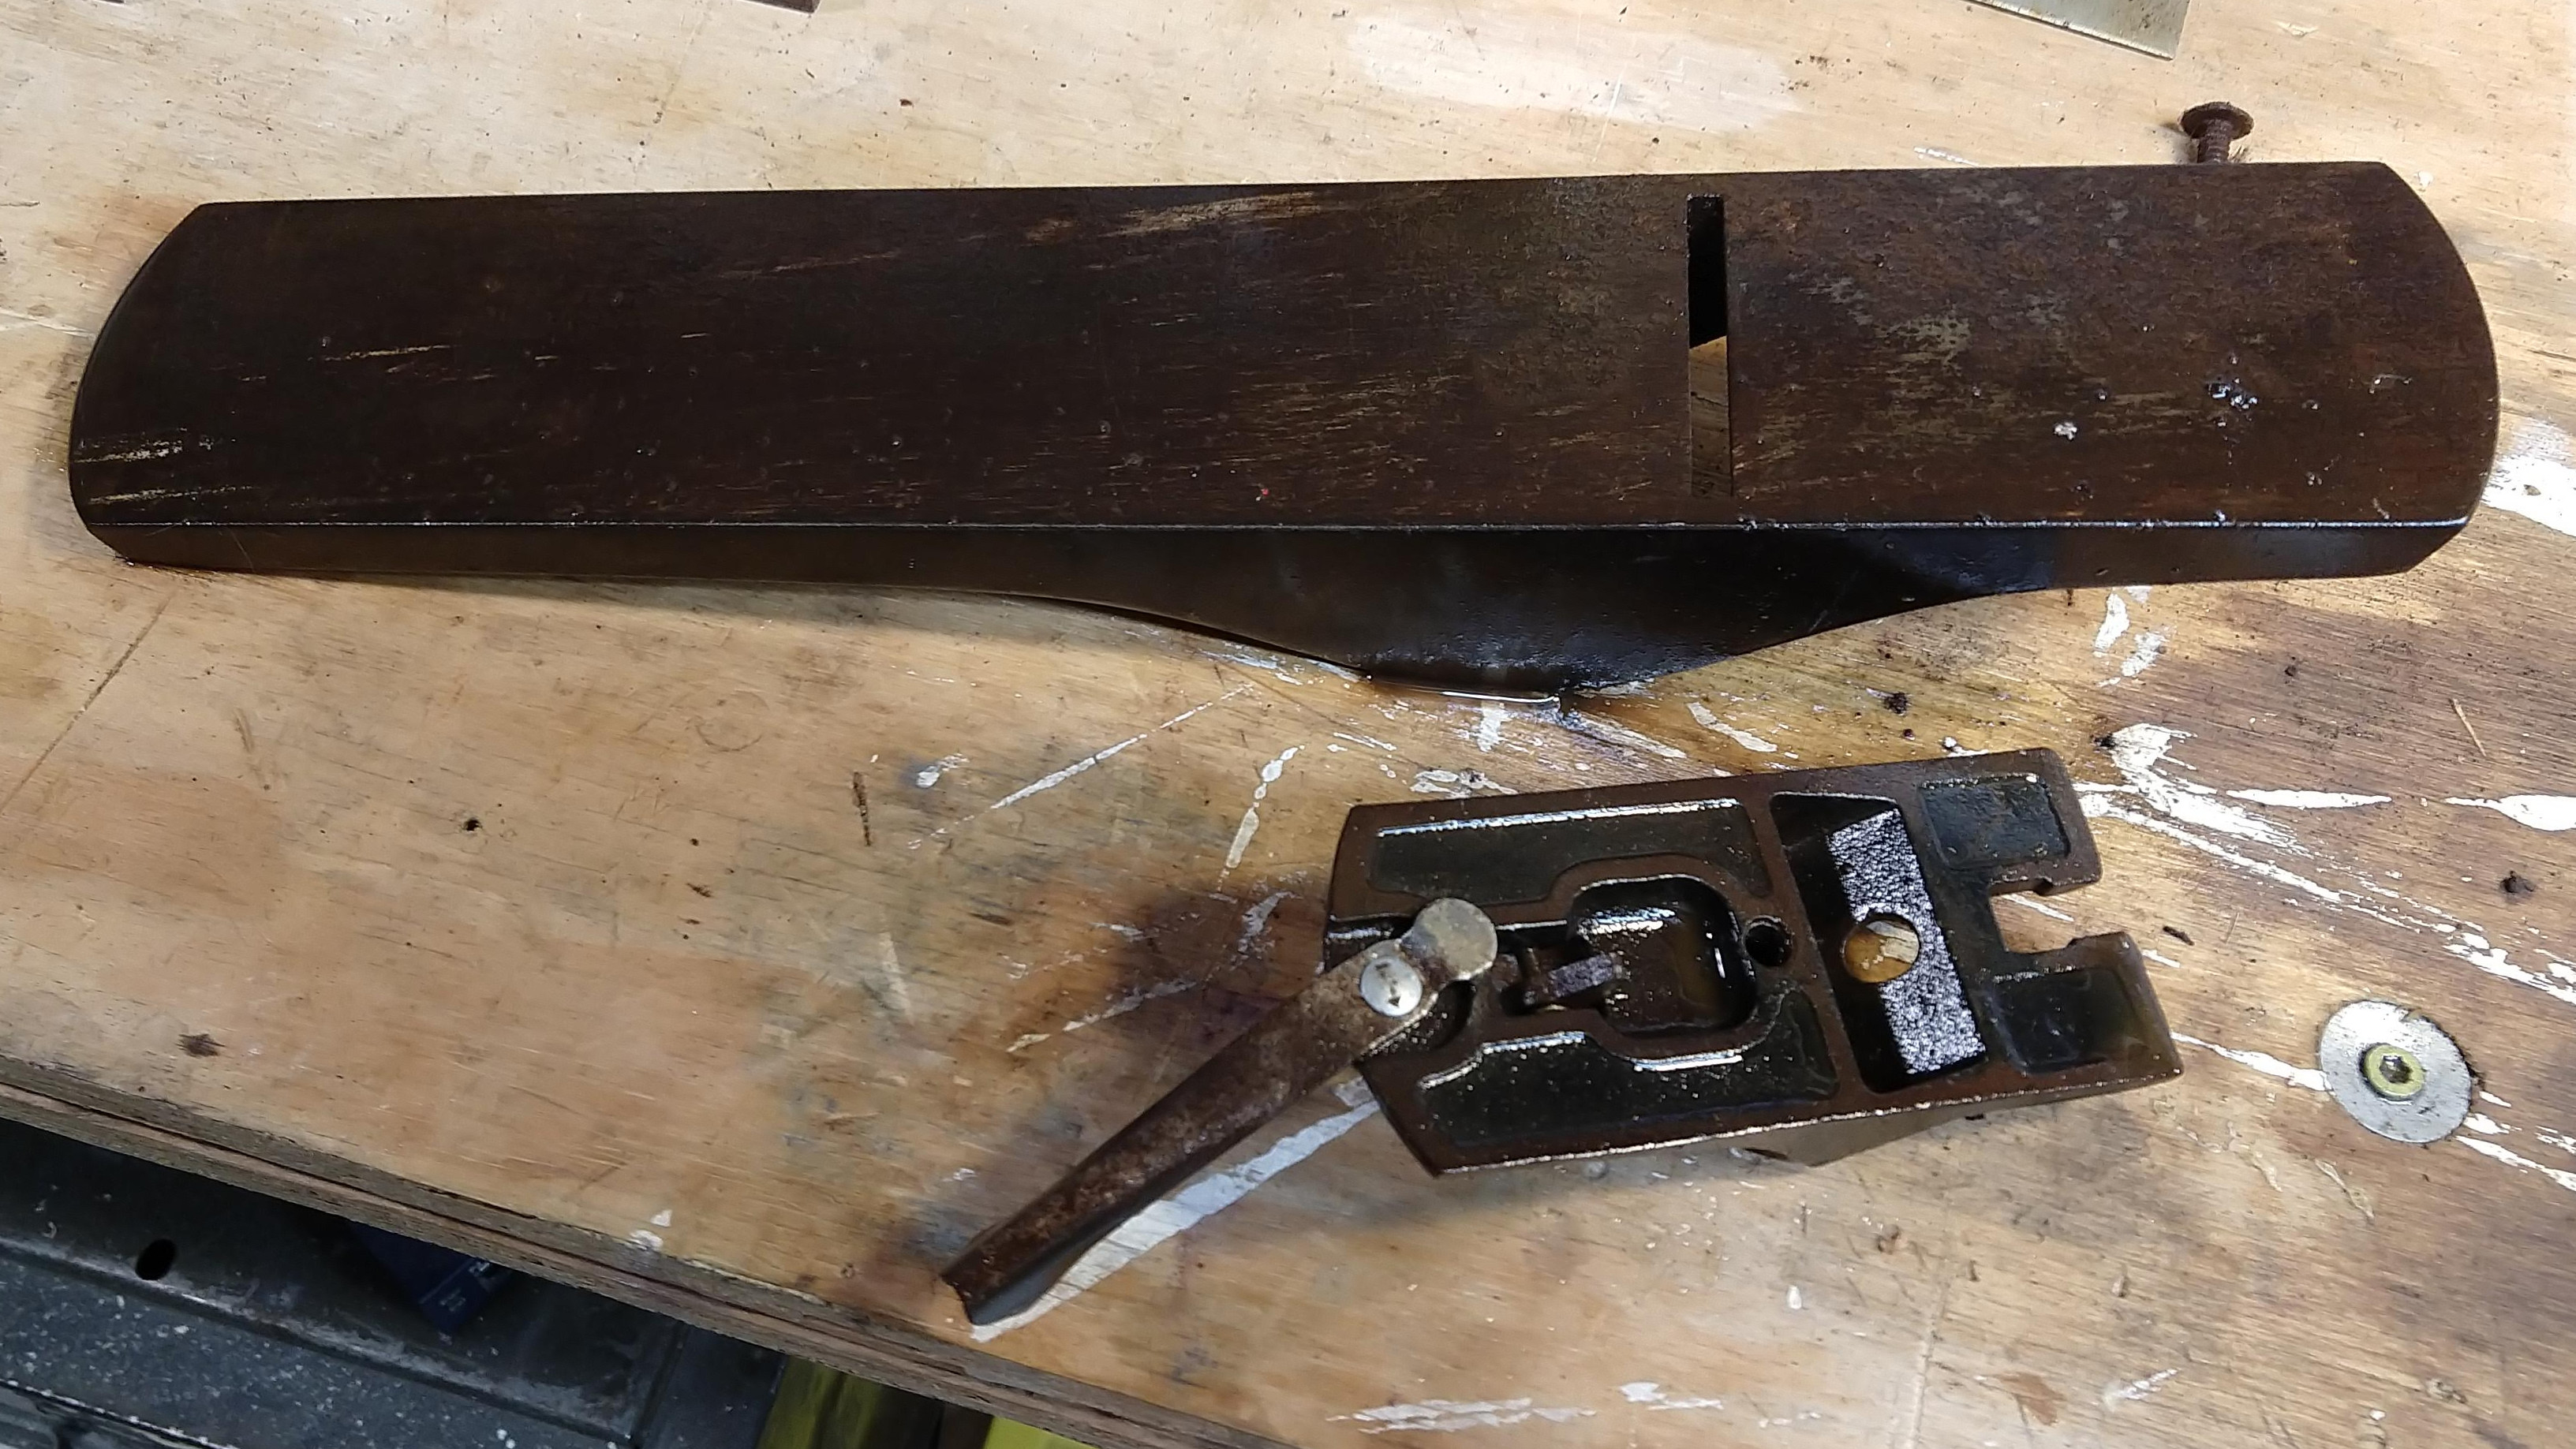
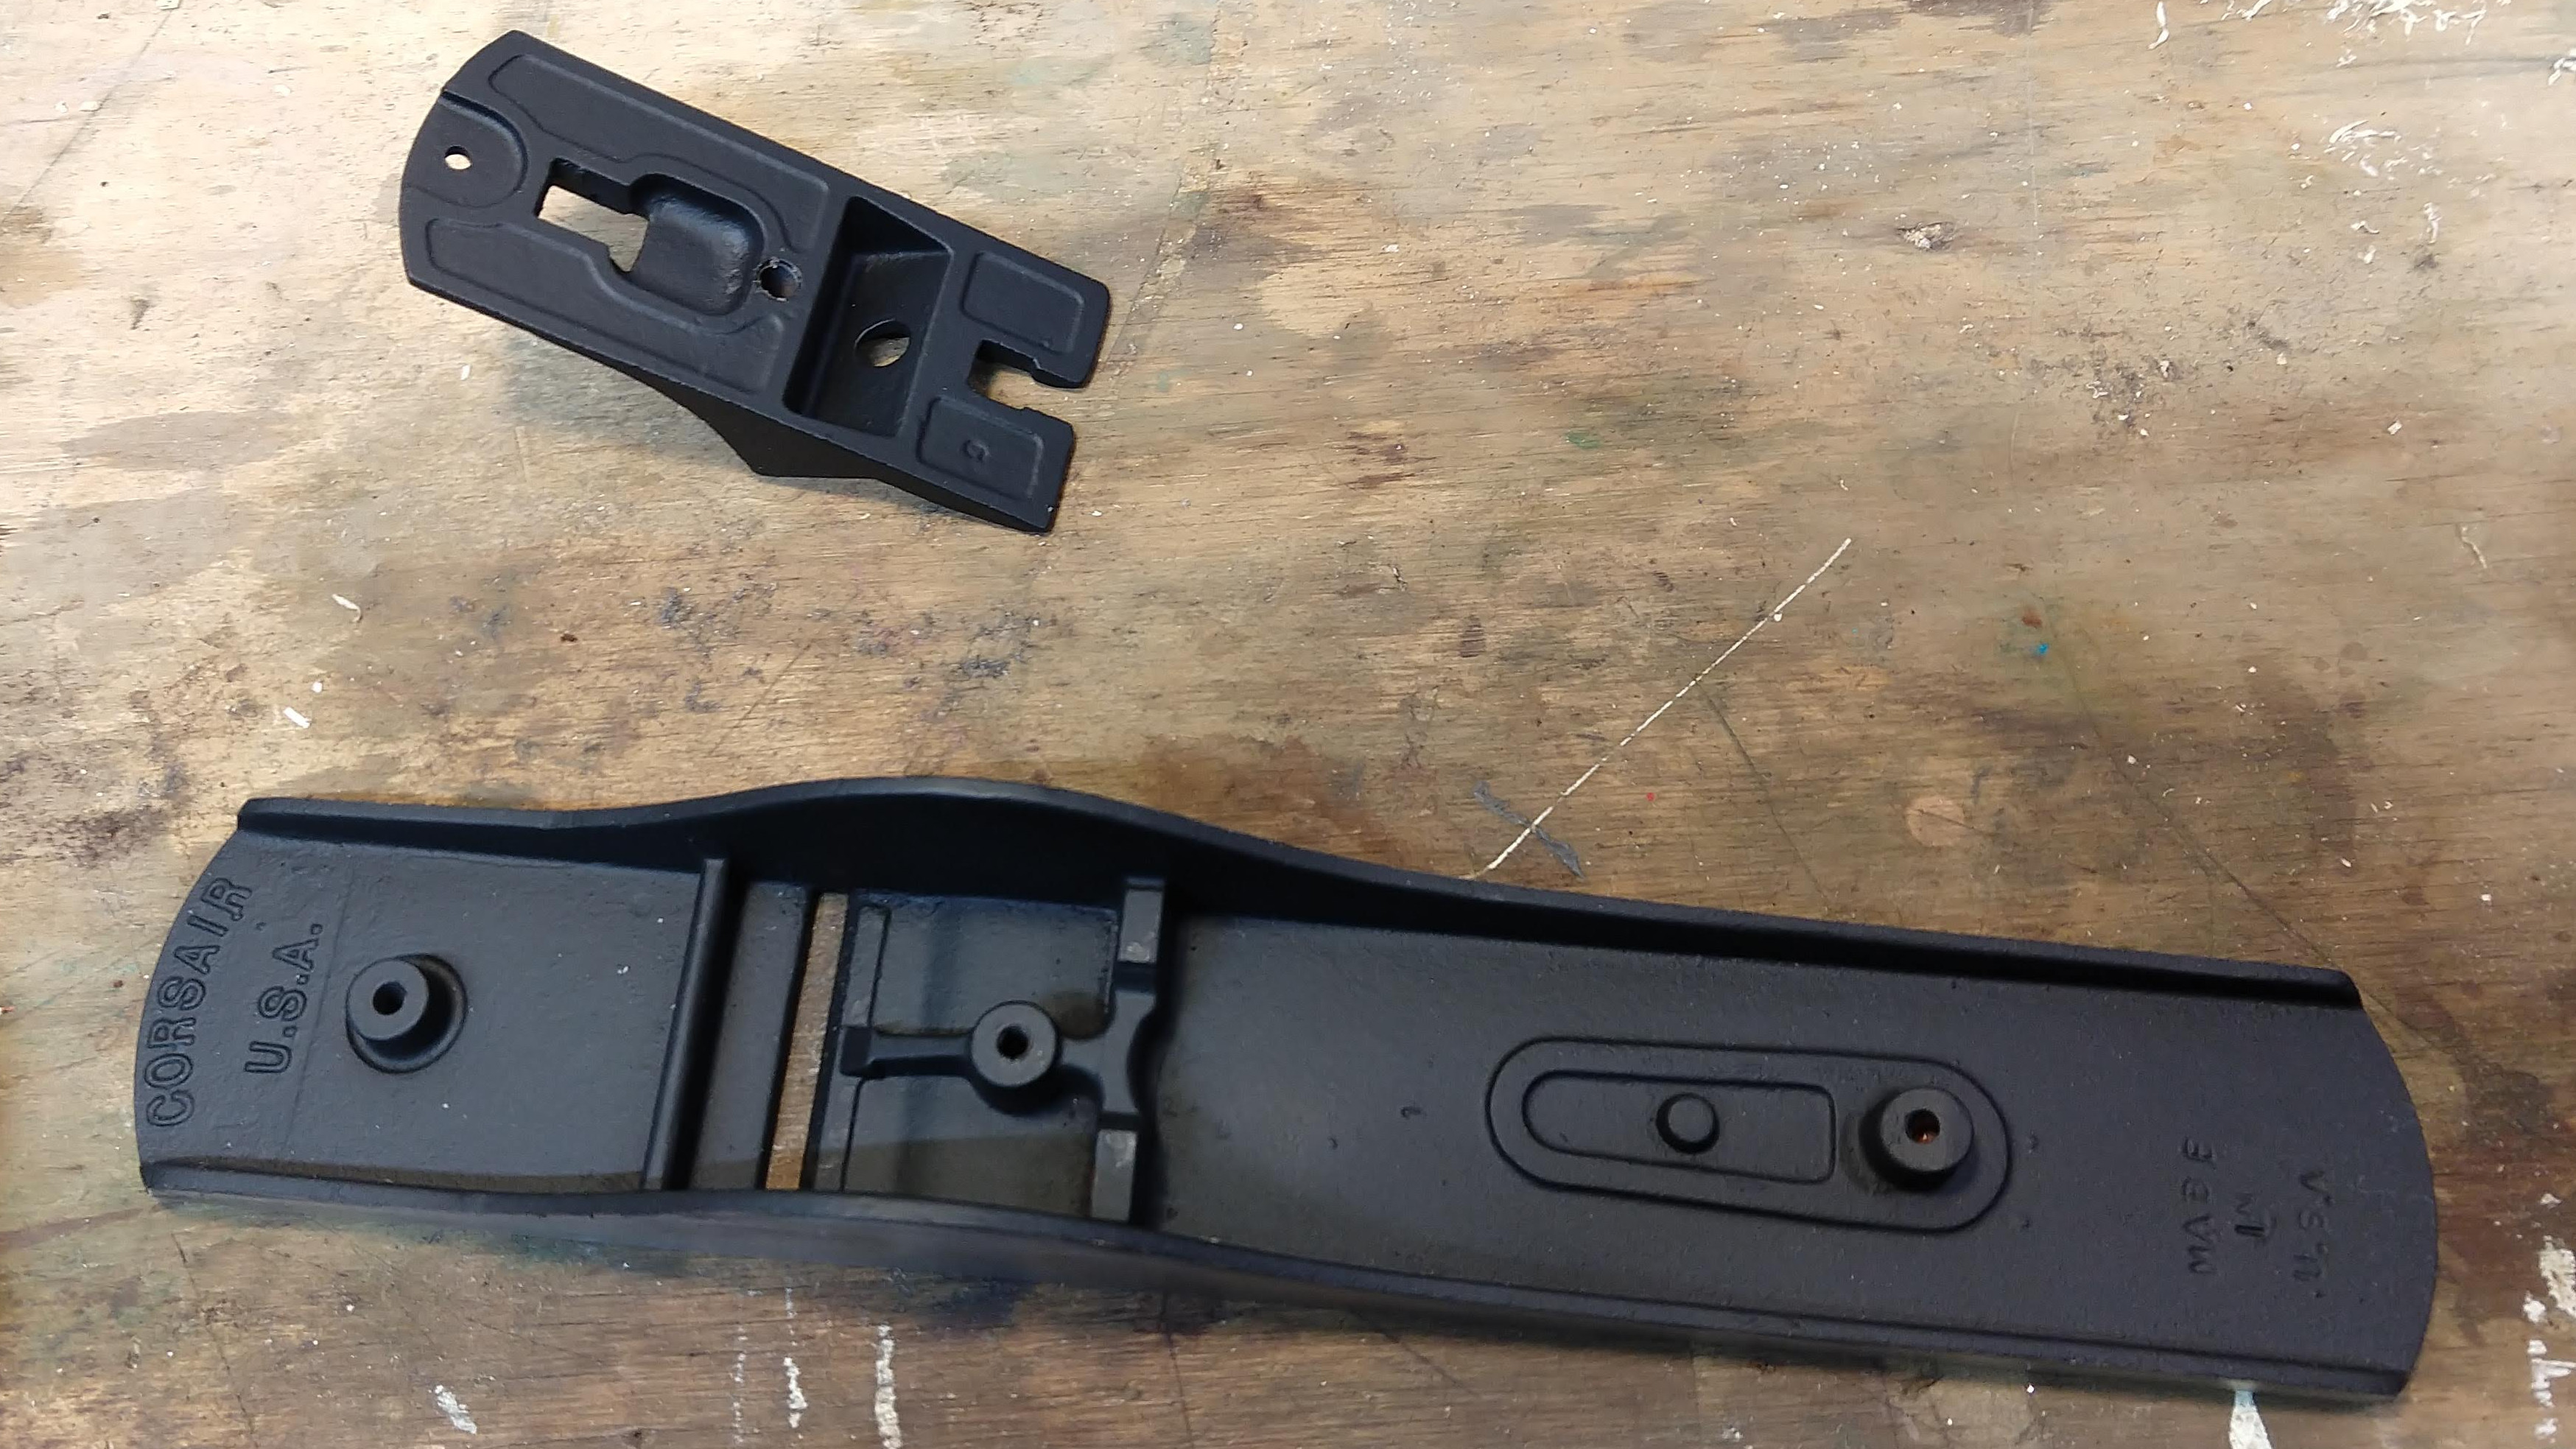
Well, I had a brief though earlier, “how does this adjuster actually move the blade forward?” Well, if you look up a diagram of a plane, you’ll note that the little lever-thingy pushes rides in a slot in the chip-breaker.
See the problem?
Well, take a look back at the parts all laid out.
See the chip-breaker?
No?
That’s because there isn’t one. No wonder it was so cheap.
Now, new chip-breakers can be had online for around the $30 mark. Or, I can find some antique ones for around $10, though it becomes $15-20 if I get the screw that holds it to the blade.
I bet I could also make one. . . but I probably won’t. . . yet.
The better choice may be to keep my eye open for rusted out planes with an intact chip breaker.
I’ll keep you posted.
I actually used WD-40’s rust penetrating oil, it was what I had around. Well, I also used some Liquid Wrench, since that was also lying around. It probably would have been easier to just soak parts in a big bucket of vinegar, but I prefer not to use an acid most of the time. You forget a part in vinegar one time when you go on vacation for two weeks one time… and you have a useless chemistry experiment when you get back. ↩︎
I used a sanding block and full-length strokes for this. However, I have since acquired a granite tile I’ll be using in the future to ensure that things that need to be flat stay flat. ↩︎
I really missed an opportunity here; I should have painted it Midnight Blue, but I suppose that would be a visual pun for a very small audience. ↩︎
I suppose a brief introduction to the parts of a bench plane is in order. The largest, bottomest piece is the body, though I will probably refer to it as the “base” quite a bit. The bottom surface of the body is called the sole, the back edge is the heel and the front edge is the toe (you’d think they’s have just called it the “foot” at this point, eh?). The blade and chipbreaker together are referred to as the “iron”. The vaguely triangular piece between the iron and the body is the “frog”. The locking piece on top of the iron is the “cap”. The handles are just handles, at least as far as I’m concerned. ↩︎
Interestingly enough, all image searches for “corsair bench plane” show the body painted red. I’m not sure if I have an oddity, or someone completely stripped the red off in the past. The front handle was painted red, but there were no signs of anything but black on the metal. I guess someone saw a red plane, and they had to repaint it black. ↩︎
Yes, yes, brass is an alloy: so it’d be copper & zinc oxides. ↩︎