My household needed another inkle loom for a project. None of our current looms could produce a long enough result.
After looking about the internet, I found some design inspirations and came up with this.

Inkle Loom frame layout
This shows the basic layout of the inkle loom frame, with pegs, the small hole in the top right is for a pivotting tensioner, and the slot on the bottom right is for a sliding tensioner.
I checked over the layout to make sure that warp doesn’t rub against itself or the frame (as long as I don’t change the layout or the size of the pegs… foreshardowing).
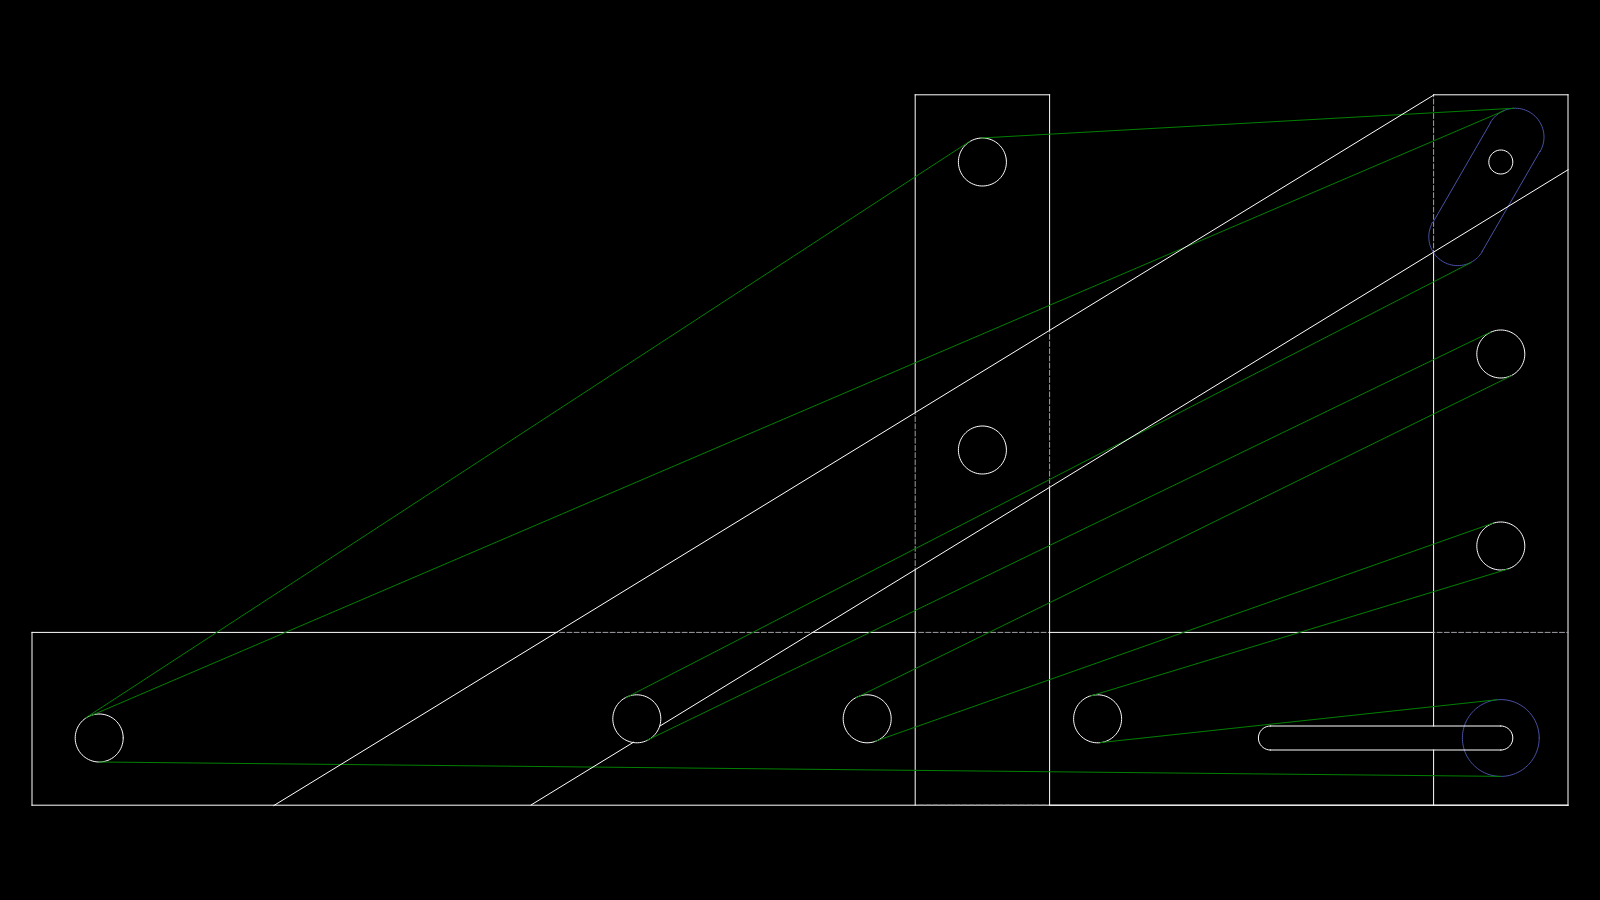
Inkle Loom warp path
The green here shows the path of the warp threads, the blue are the outlines of the tensioners
I found some oak in the basement (admittedly I thought it was hickory at first, it’s kinda dark down there). I wanted to make it out of 5/4 stock, but everything I had over 4/4 was super-twisted elm and I didn’t want to mess with it.
Fortunately oak dowels were easy to get for the pegs, it would have been annoying to have to turn some myself.
The octagon tensioner was made from a 1-1/4" square stock with the corners hand-planed off.
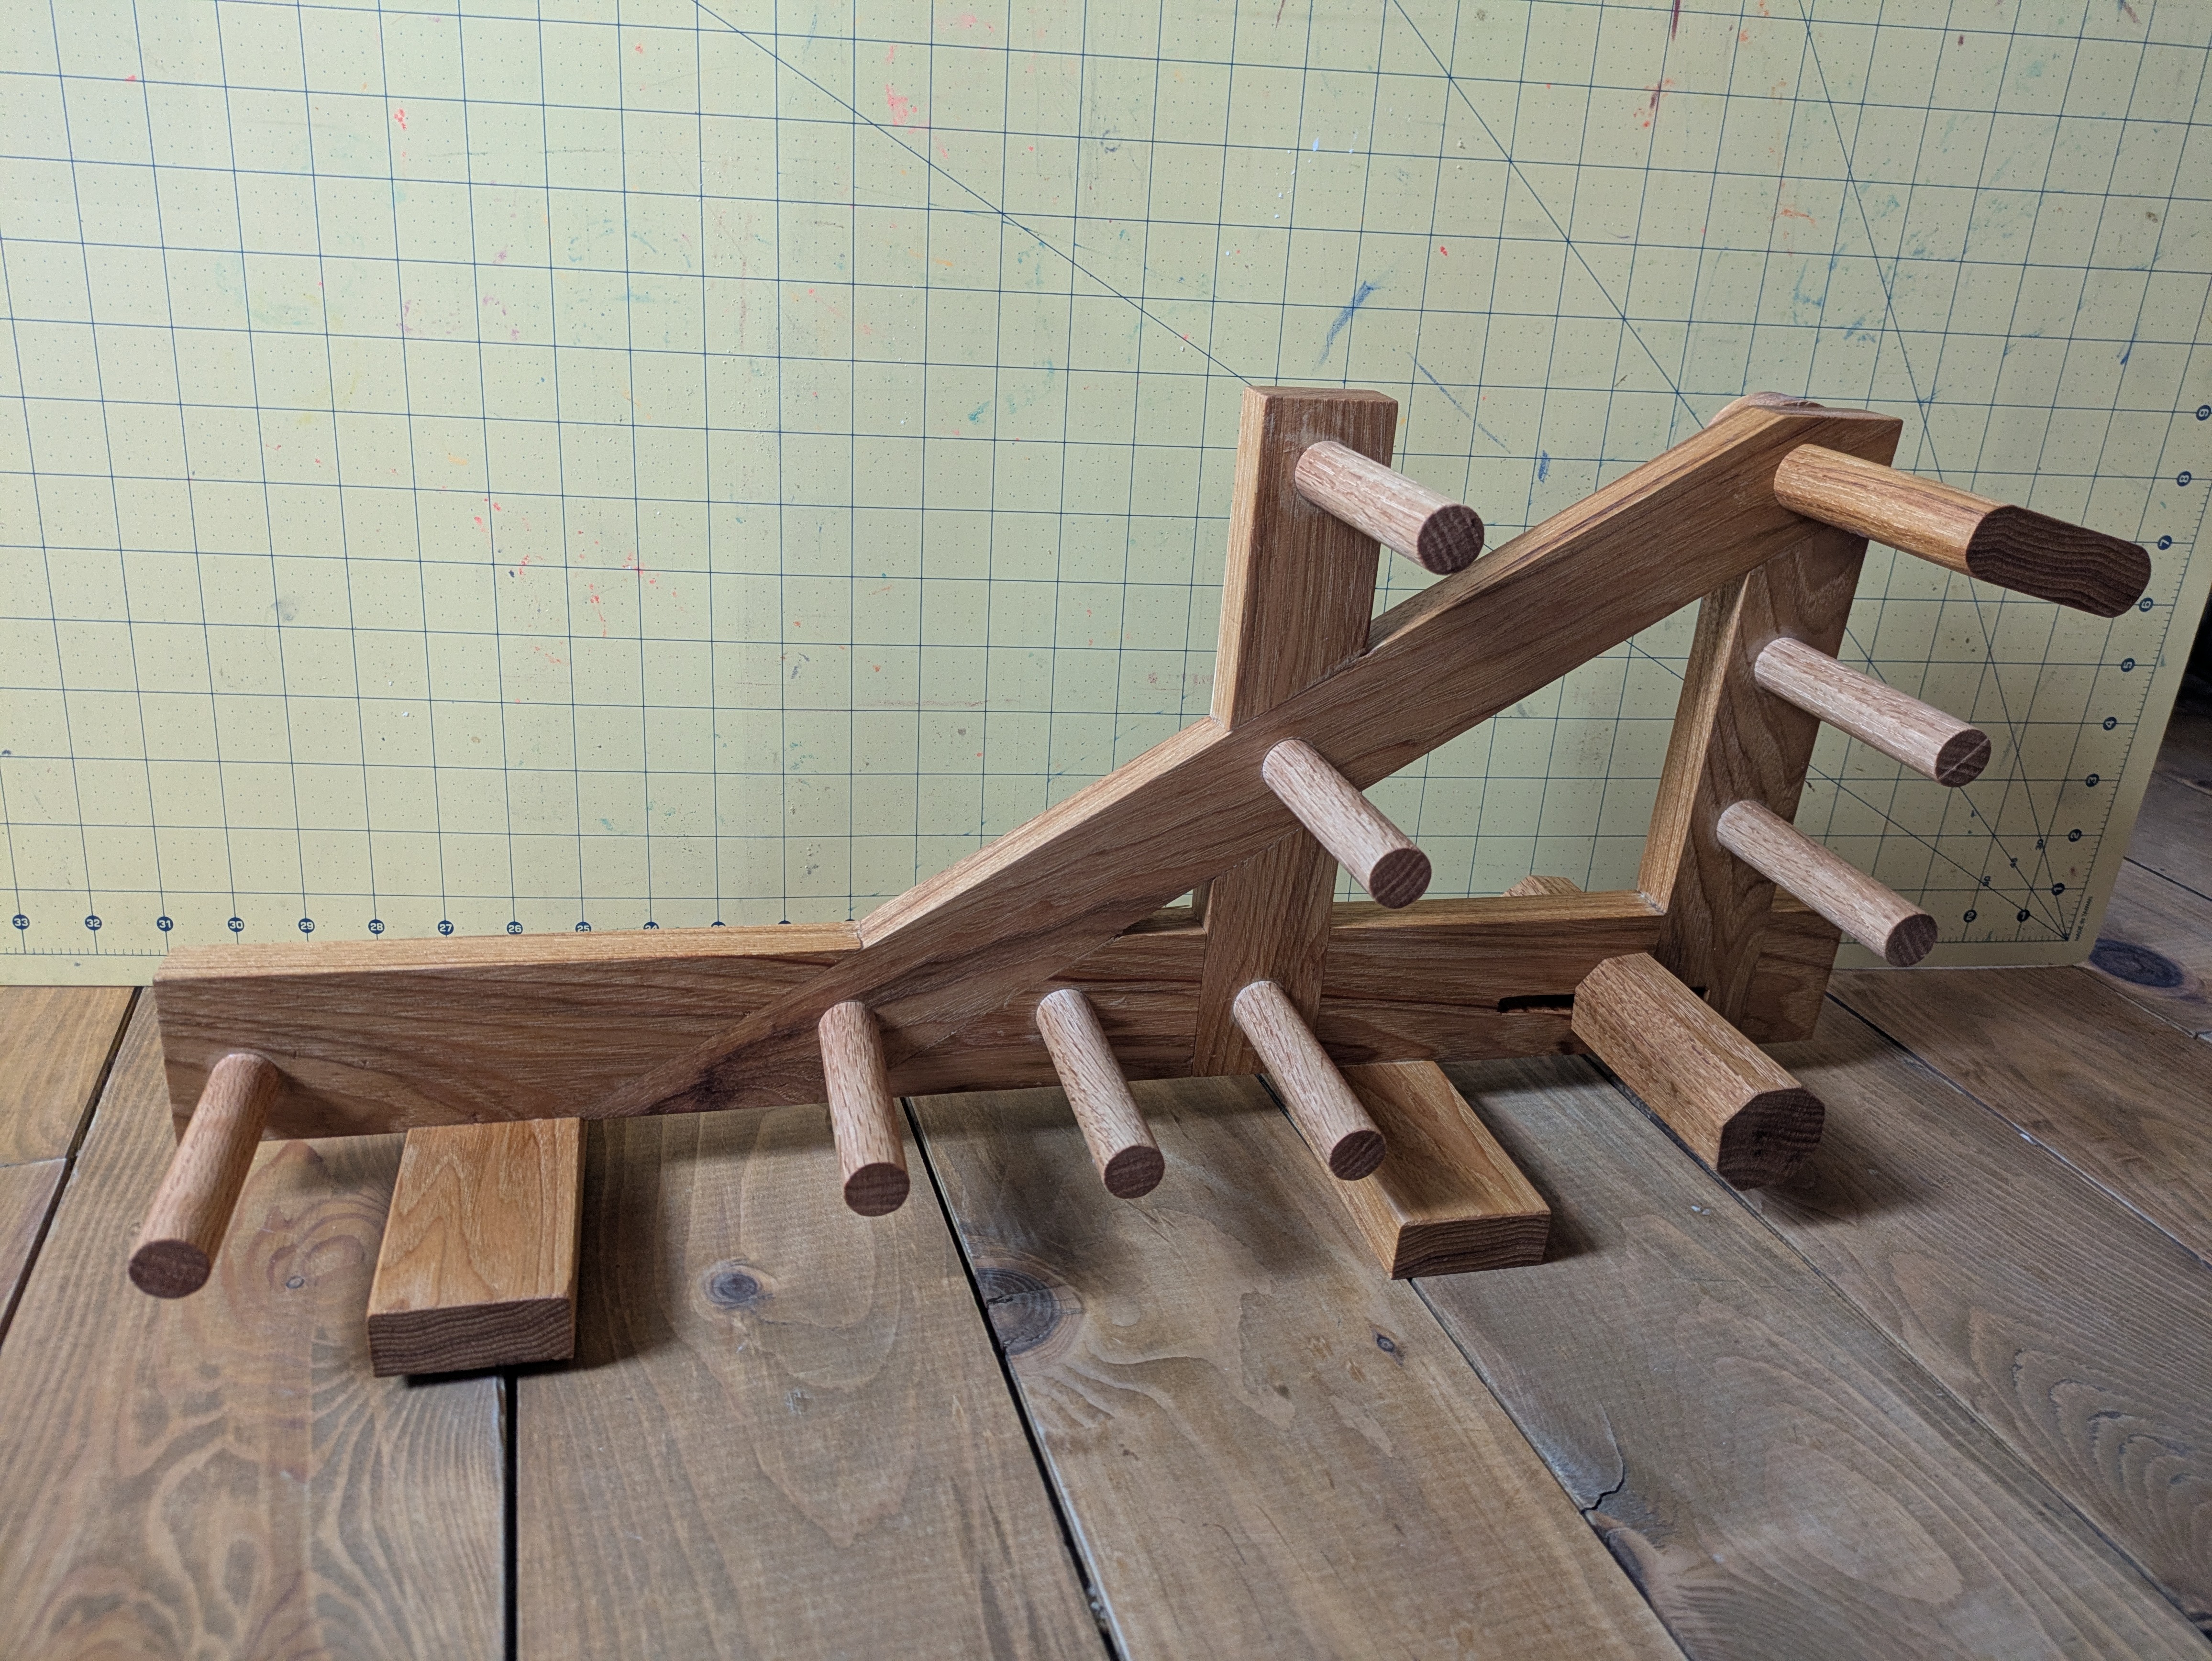
The Resulting Inkle Loom
You might notice some differences, the original drawing used 5/8" pegs and a 1" round tensioner; the final loom uses 3/4" pegs and a 1-1/4" octagon tensioner. I also left the lower piece long in both directions, and centered some of the pegs in their visual enviornment. The changes do cause some issues, the warp is awfully close together in some places and rubs along the top of the rear foot.
I’ll have some changes if there’s a second version (there will be).
- The warp is way to close together in some places, it can be very hard to advance, especially if you tie the ends of each warp thread together.
- The pegs are too short, if your weaving is more tha ~1" wide it risks slipping off the edge.